Thursday, 10 November 2022

Happy Forest Friends swaps for OnStage in Vienna


Hello and welcome to my blog! I am writing this ahead of time so that it will be published while I am away at a Stampin' Up! event in Vienna. Whilst we have been able to gather virtually for events during the height of the pandemic, there is nothing quite the same as an in person event. I am so excited! 

Events are so much fun. There are presentations, we get to see and use new products, we get to mingle with like minded people and one of my favourite bits is swapping! So, whether you are a regular visitor or you have popped in because I was lucky enough to swap/chat with you - Welcome!


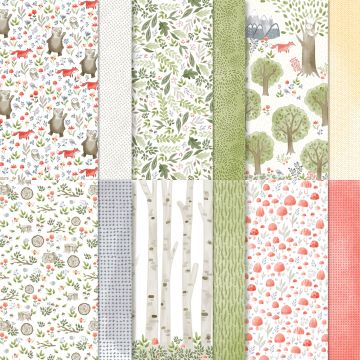
I love the whole swapping process - designing a card, prepping the ingredients and assembling the card, chatting whilst you exchange cards and then finding inspiration from the cards received. Wonderful! I have used the Happy Forest Friends for my swaps, and I have used two different colourways.


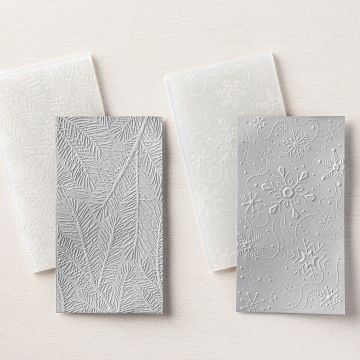
The card has a shortened front panel to allow two types of decoration to shine - a piece of DSP on the front and a decorative strip on the back. To create the texture I used the leafy Wintry 3-d embossing folder. When I started my production line for these cards, I utilised my Stamparatus as there was plenty of stamping and die cutting required for each one. Once I had stamped and die cut one set of images, I could use the template to stamp a stack of blank white images without having to line the dies up each time!


The die cut animals are arranged so that they are in the centre of the scene, but the bear hangs off the front panel a fraction. Also, toadstools are added to the back panel so that the scene continues across both panels. The thanks sentiment is stamped on a die cut label from this set and then mounted on to layering labels from the Stylish Shapes set. I couldn't resist adding two die cut leaves to nestle in the stack of labels - aren't they cute?


The collections look like this!
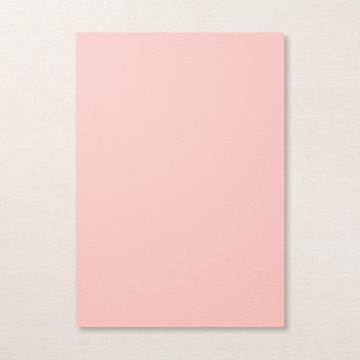
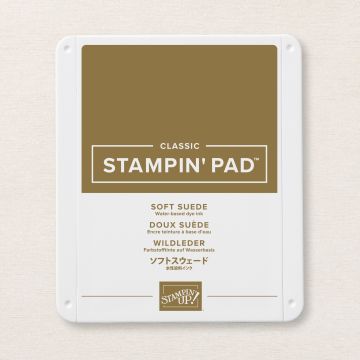
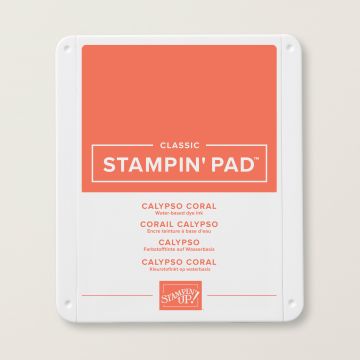
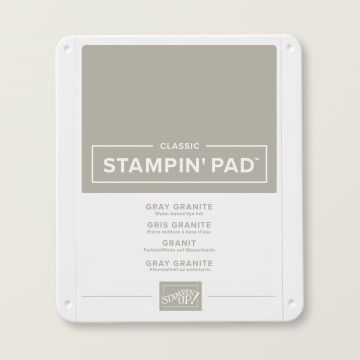
Above, the green version has a Mossy Meadow base topped with an Old Olive panel, with the bear stamped in Soft Suede. Below, the pink version has a Basic Gray card base topped with a Blushing Bride decorative panel and this time the bear is stamped in Basic Gray. For the foxes, I used Calypso Coral and the owls are in Gray Granite.


I hope that you are inspired by my cards today. I would love to hear from you and so if you have been inspired, or I if I swapped with you, please leave a comment.

Do you need any of the products used on today's card? If you live in the UK you can click on the shopping links below to add them to your collection today.

Thank you for joining me today! Looking forward to seeing you next time. 

Stay safe and as always, happy crafting,


If you would like to order any supplies, and you live in the UK, I would love to be your demonstrator.
Please take a look in my online Stampin' Up! shop use the hostess code 24UGJKYT to get some free product (it will follow in the post after the end of the month). If your order is over £150 do not use the code as you become the hostess and get the rewards. You can follow the link or click on the pictures below of the products I have used today.

If you would like to join my team, you can choose your starter kit HERE and if you have any questions, please contact me at furrycatdesigns@gmail.com

All Star Tutorial Bundles

All Star Tutorial Bundles have 12 AMAZING video tutorials to inspire you each month.


Click HERE for sneak peeks or to purchase.

FREE with a purchase from my online store
 

Click on the images of the products I have used today to purchase them in my online shop:


Wednesday, 9 November 2022

All Star Tutorial Bundle Blog Hop - Sun Prints Suite

Hello and welcome to our All Star Tutorial Bundle Design Team Blog Hop for November 2022. This month we are using the Sun Prints Suite. The projects featured in the bundle are exclusive and the tutorials come complete with photos, video directions and a supply list that includes both Metric and Imperial measurements. 


Here is a sneak peek of the Sun Prints Suite bundle of tutorials.


To enjoy the tutorials you have several options:

  • shop with me -  if you order from my online store you will receive that month's bundle for free
  • purchase - buy the bundle for £11.50 
  • Join my Team - team members will receive the tutorials for free

Here is a closer look at my sneak peek for the tutorial.


To give you even more inspiration each of us has created another project using the Sun Prints Suite products. This suite has been a joy to work with and my head is buzzing with ideas. Here is my project for today.


I layered two die cut wreaths on top of each other - one from vellum and one from Basic White card. They are slightly offset and
additional smaller sprays of foliage were tucked in here and there to give a fuller wreath. To add further texture the white die cut has been overstamped using the splatter stamp with Gray Granite and Night of Navy inks.

The background is built up using a layer of Basic White, the full size of the card base, and topped with further layers of Night of Navy, Vellum and finally a square of DSP. The two exposed layers are embossed with the Fern 3-d folder.


To complete the card I added the Hello There sentiment, which is white heat embossed, a generous Baker's Twine bow and some Iridescent Pearls. I always love a classic blue and white combination. There's a lot going on in this card, and I am liking the additional tones too!

Let me know what you think in the comments below. If you want to be inspired with more ideas using this suite you can purchase the tutorial bundle (along with previous tutorials) HERE


Thank you so much for visiting today. Click on the names below to hop around and see all the other amazing projects. Enjoy! If you live in the UK you can purchase these products below.

Blog Hop List:

Stay safe and as always happy crafting,


If you would like to order any supplies, and you live in the UK, I would love to be your demonstrator. Use the hostess code
RT7H9JAB to get some free product (it will follow in the post after the end of the month). If your order is over £150 do not use the code as you become the hostess and get the rewards. To place an order please visit my online shop HERE

If you would like to join my team, you can choose your starter kit HERE and if you have any questions, please contact me at furrycatdesigns@gmail.com


All Star Tutorial Bundles

All Star Tutorial Bundles have 12 AMAZING video tutorials to inspire you each month.


Click HERE for sneak peeks or to purchase.
FREE with a purchase from my online store.
 

Click on the images below to purchase them in my online shop:


Tuesday, 1 November 2022

Black and White Spruced Up Tree - GDP367


Hello and welcome to my blog! Today, I am participating in the Theme Challenge over at the Global Design Project. The theme this week is all about trees.

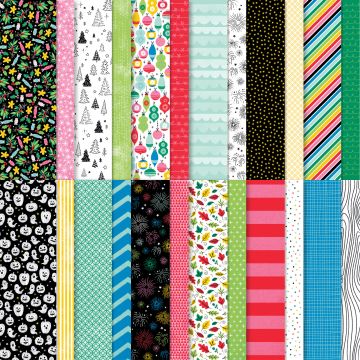
Initially, I made this card for one of the challenges in a Training Day that I recently attended with Julie Sutcliffe at the Paper Haven. The challenge was to create a black and white card with a pop of colour. Using the Spruced Up Bundle and the Celebrate Everything papers I made a Christmas card featuring black and white trees, which works perfectly with the #GDP367 challenge this week.


I trimmed some of the tree paper, matted it onto a slightly bigger piece of Basic Black before adding to a Basic White card base. For the pop of colour I chose Polished Pink. I coloured the DSP using the Dark Polished Pink Blend to fill in the stars and also added splatters of sparkle from my Wink of Stella pen.

The dies are magnificent in this set. With one pass through the Stampin' Cut & Emboss machine you are rewarded with a solid and an outline image - I cut one each in black and white. (I used adhesive sheet to make it easier to adhere the outlines!) To add some texture to the solid white tree I embossed it using one of the Wintry 3-d folders. Finally, I added a Polished Pink banner, cut with the Stylish Shapes dies, and white heat embossed the Happy Christmas sentiment.


The design is simple, yet striking and it's
economical in its use of DSP. Overall it is quite flat, even though it has texture and layers, making it cheaper to post!  It is an easy card to mass produce, and I forsee more of them using different pops of colour!  

I hope that you are inspired by my card today. If you have been inspired, I would love to hear from you so please leave a comment.

Do you need any of the products used on today's card? If you live in the UK you can click on the shopping links below to add them to your collection today.

Thank you for joining me today! Looking forward to seeing you next time. 

Stay safe and as always, happy crafting,


If you would like to order any supplies, and you live in the UK, I would love to be your demonstrator.
Please take a look in my online Stampin' Up! shop use the hostess code 24UGJKYT to get some free product (it will follow in the post after the end of the month). If your order is over £150 do not use the code as you become the hostess and get the rewards. You can follow the link or click on the pictures below of the products I have used today.

If you would like to join my team, you can choose your starter kit HERE and if you have any questions, please contact me at furrycatdesigns@gmail.com

All Star Tutorial Bundles

All Star Tutorial Bundles have 12 AMAZING video tutorials to inspire you each month.


Click HERE for sneak peeks or to purchase.

FREE with a purchase from my online store
 

Click on the images of the products I have used today to purchase them in my online shop: