Wednesday 30 November 2022

Wintry Snowflakes


Hello and welcome to my blog. The theme challenge over at the Global Design Project this week is Winter. I still have plenty of Christams cards to make, so I am game for this challenge!


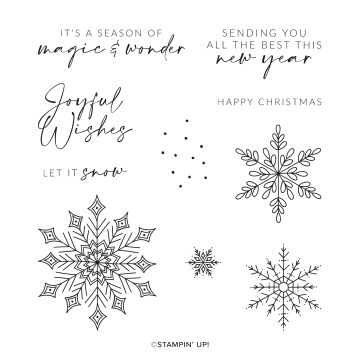
One of my go to colour combinations, especially for a wintry card, has blues and purples in it. With a cool colour combination, it seemed apt to use snowflake images. So, I set to work making a flurry of snow on paper using a selection of snowflake stamps. As well as a variety of sizes I also wanted the snowflakes to be of different intensity - some delicate and some more bold. So I used images from a variety of stamp sets: Joyful Flurry, Spruced Up and Peaceful Deer.

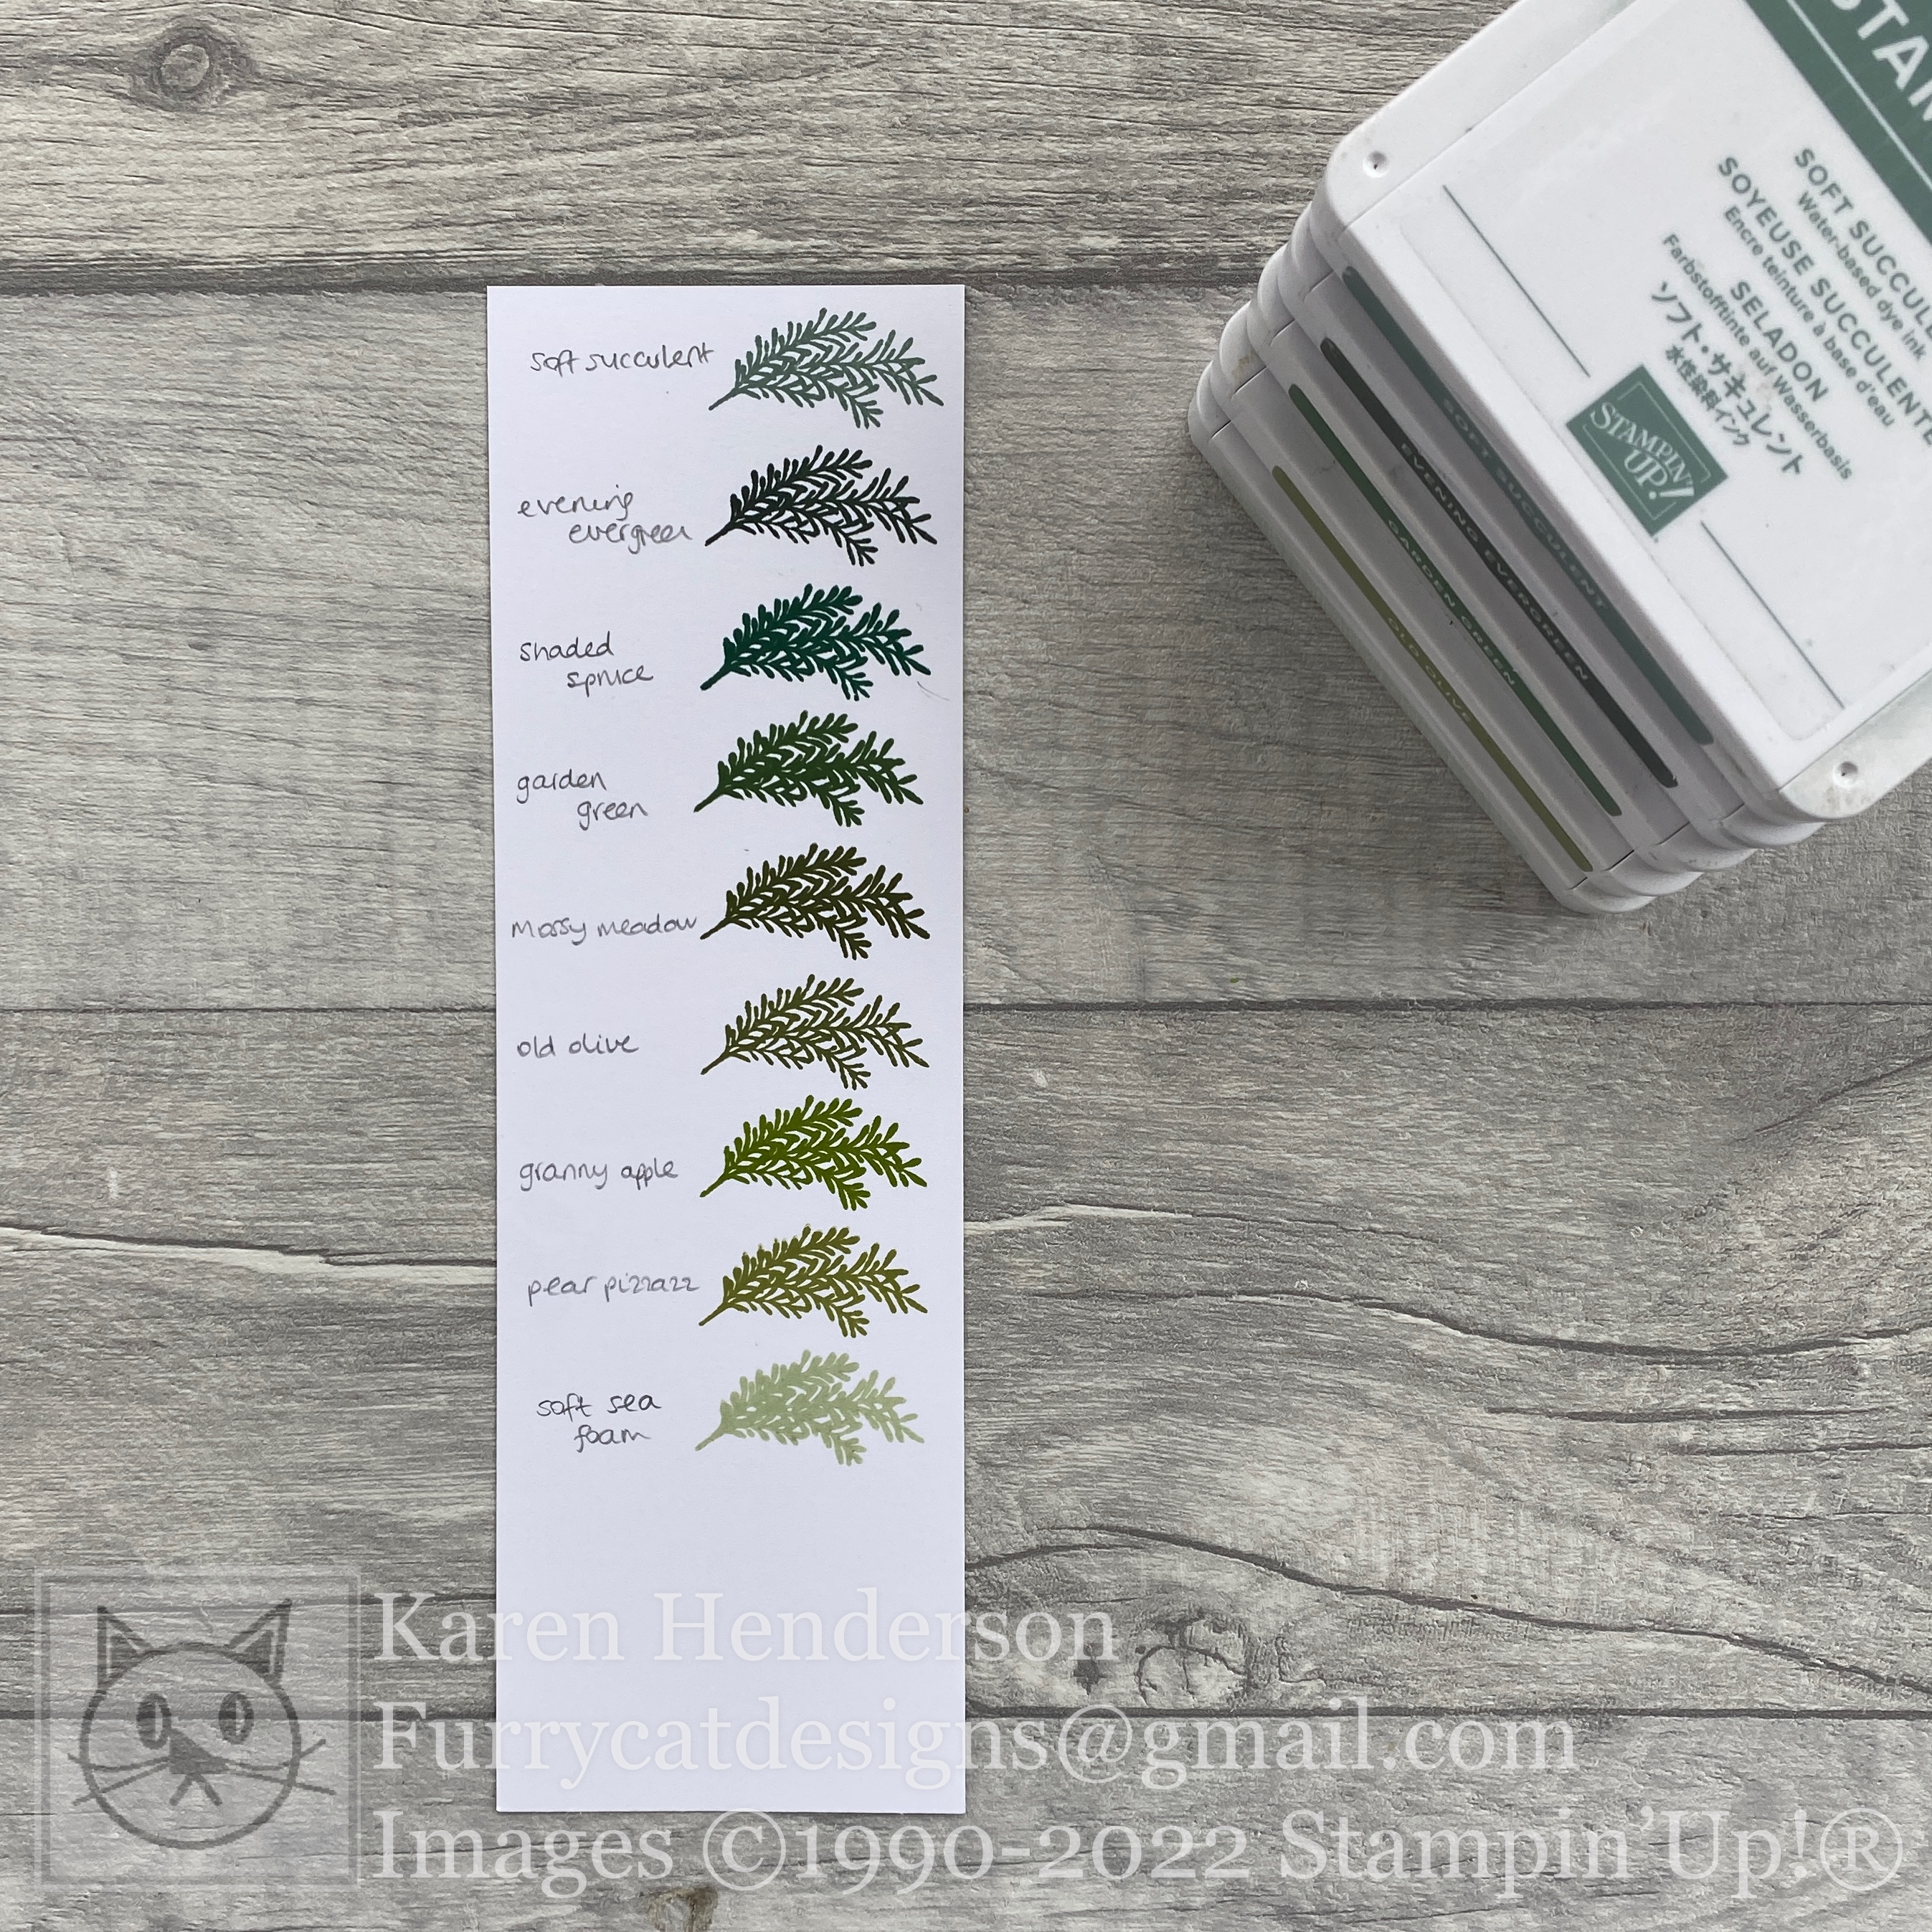
For even more variety I also used an array of shades. I used three of the current InColors to give me intense dark blue/purple and a bright, vibrant blue to which I added some Pool Party too.

I made several Basic White panels and stamped a band of snowflakes across the middle of each of them. The first panel was mounted onto a layer of Orchid Oasis and added to a Basic White card base. Adding a simple sentiment and some Basic Rhinestones completed the card.


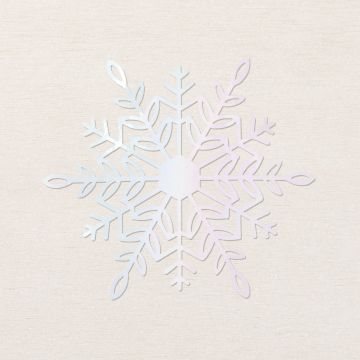
For the second card, the sentiment and layering are in Starry Sky. The decoration this time has the Basic Rhinestones supplemented with a Wonderful Snowflake. These iridescent foil snowflakes are die cut and add a real shine to the card! 


My final stamped piece was trimmed to make a square card, embellished with both Basic Rhinestones and some silver Festive Pearls before mounting on to a Starry Sky layer and an Orchid Oasis card base. I never tire of this collection of icy shades. There is something quite classic about it. I cannot decide which of this trio is my favourite, which one do you prefer?

If you want to purchase the items used for these cards, or any other supplies, please take a look in my online Stampin' Up! shop. You can follow the link or click on the pictures below of the products I have used today.

Stay safe and as always, happy crafting,


If you would like to order any supplies, and you live in the UK, I would love to be your demonstrator. Use the hostess code
24UGJKYT to get some free product (it will follow in the post after the end of the month). If your order is over £150 do not use the code as you become the hostess and get the rewards. To place an order please visit my online shop HERE

If you would like to join my team, you can choose your starter kit HERE and if you have any questions, please contact me at furrycatdesigns@gmail.com

All Star Tutorial Bundles

All Star Tutorial Bundles have 12 AMAZING video tutorials to inspire you each month.


Click HERE for sneak peeks or to purchase.

FREE with a purchase from my online store
 

Click on the images of the products I have used today to purchase them in my online shop:


Saturday 19 November 2022

Stamping Inkspirations Blog Hop - A Colour Challenge


Hello and welcome to my blog! Today I am taking part in a blog hop with some fellow enthusiasts who love sharing their creative talents using their Stampin' Up!® products.


We have a colour challenge this month for the Stamping Inkspirations blog hop. The colours are all shades of green. There is an additional / alternative challenge to make a Clean And Simple card.


I have challenged myself to try to create a Clean and Simple card today - I love to add layers, embossing and embellishments on my cards so I do find CAS cards tricky!

I still need to make Christmas cards, and with a green colour scheme the stamp set that immediately came to mind was Merriest Moments. The set includes three different types of foliage plus two sizes of holly leaves and when you include the splatters aswell that takes me to five shades of green!


My first job was to decide on the shades of green to include in my composition, so I made myself a little swatch card. This made it easier for me to select a range of harmonious colours.

Evening Evergreen and Soft Succulent were my starting point. They make a fantastic duo, which I used for the fern type foliage. Then, I used Old Olive for the rounded leaves and Garden Green for the holly leaves. Finally, I added Soft Sea Foam splatters to fill in the gaps between the leaves. The splatters are pale but they really help to create a fuller looking border.


The narrow sentiment is stamped in Evening Evergreen and mounted on a matching strip of cardstock. Cunningly, it hides all the overlapping stems in the centre of the card!

Try as I might, I couldn't help but add a layer of Evening Evergreen under the Basic White stamped layer. I know it's not strictly done on a CAS card, but I did say that I found them hard to do! 


As I mentioned, I still need to add to my pile of Christmas cards so I made a few more of the foliage panels and then added more in the way of decoration to them.


The first addition was a scattering of Soft Succulent Pearls and the second one has an embossed background.


I placed the Stitched Greenery die up to the score line at the top ot the card base and then ran it through the Cut&Emboss machine to emboss the leaf detail on card front.


The next variation adds a twist of Simply Elegant
trim for a little bit of shine! The sentiment is then popped up on dimensionals. The final version has all of the above. I think it is still a simple, fresh looking card.


I hope that you are inspired by my cards today and that you will continue along the hop to see what the others have created too. Enjoy the projects. We would love to hear from you and so if you have been inspired, please leave a comment.


Angie McKenzie  ●  Karen Henderson  ●  Leonie Stuart

Mo Rootes  ●  Susan Webster

Do you need any of the products used on today's card? If you live in the UK you can click on the shopping links below to add them to your collection today.

Thank you for joining us today! Looking forward to seeing you next time. 

Stay safe and as always, happy crafting,


If you would like to order any supplies, and you live in the UK, I would love to be your demonstrator.
Please take a look in my online Stampin' Up! shop use the hostess code 24UGJKYT to get some free product (it will follow in the post after the end of the month). If your order is over £150 do not use the code as you become the hostess and get the rewards. You can follow the link or click on the pictures below of the products I have used today.

If you would like to join my team, you can choose your starter kit HERE and if you have any questions, please contact me at furrycatdesigns@gmail.com

All Star Tutorial Bundles

All Star Tutorial Bundles have 12 AMAZING video tutorials to inspire you each month.


Click HERE for sneak peeks or to purchase.

FREE with a purchase from my online store
 

Click on the images of the products I have used today to purchase them in my online shop:


Thursday 10 November 2022

Happy Forest Friends swaps for OnStage in Vienna


Hello and welcome to my blog! I am writing this ahead of time so that it will be published while I am away at a Stampin' Up! event in Vienna. Whilst we have been able to gather virtually for events during the height of the pandemic, there is nothing quite the same as an in person event. I am so excited! 

Events are so much fun. There are presentations, we get to see and use new products, we get to mingle with like minded people and one of my favourite bits is swapping! So, whether you are a regular visitor or you have popped in because I was lucky enough to swap/chat with you - Welcome!


I love the whole swapping process - designing a card, prepping the ingredients and assembling the card, chatting whilst you exchange cards and then finding inspiration from the cards received. Wonderful! I have used the Happy Forest Friends for my swaps, and I have used two different colourways.


The card has a shortened front panel to allow two types of decoration to shine - a piece of DSP on the front and a decorative strip on the back. To create the texture I used the leafy Wintry 3-d embossing folder. When I started my production line for these cards, I utilised my Stamparatus as there was plenty of stamping and die cutting required for each one. Once I had stamped and die cut one set of images, I could use the template to stamp a stack of blank white images without having to line the dies up each time!


The die cut animals are arranged so that they are in the centre of the scene, but the bear hangs off the front panel a fraction. Also, toadstools are added to the back panel so that the scene continues across both panels. The thanks sentiment is stamped on a die cut label from this set and then mounted on to layering labels from the Stylish Shapes set. I couldn't resist adding two die cut leaves to nestle in the stack of labels - aren't they cute?


The collections look like this!
Above, the green version has a Mossy Meadow base topped with an Old Olive panel, with the bear stamped in Soft Suede. Below, the pink version has a Basic Gray card base topped with a Blushing Bride decorative panel and this time the bear is stamped in Basic Gray. For the foxes, I used Calypso Coral and the owls are in Gray Granite.


I hope that you are inspired by my cards today. I would love to hear from you and so if you have been inspired, or I if I swapped with you, please leave a comment.

Do you need any of the products used on today's card? If you live in the UK you can click on the shopping links below to add them to your collection today.

Thank you for joining me today! Looking forward to seeing you next time. 

Stay safe and as always, happy crafting,


If you would like to order any supplies, and you live in the UK, I would love to be your demonstrator.
Please take a look in my online Stampin' Up! shop use the hostess code 24UGJKYT to get some free product (it will follow in the post after the end of the month). If your order is over £150 do not use the code as you become the hostess and get the rewards. You can follow the link or click on the pictures below of the products I have used today.

If you would like to join my team, you can choose your starter kit HERE and if you have any questions, please contact me at furrycatdesigns@gmail.com

All Star Tutorial Bundles

All Star Tutorial Bundles have 12 AMAZING video tutorials to inspire you each month.


Click HERE for sneak peeks or to purchase.

FREE with a purchase from my online store
 

Click on the images of the products I have used today to purchase them in my online shop: