Hello and welcome to my blog! Today I am taking part in a blog hop with some fellow enthusiasts who love sharing their creative talents using their Stampin' Up!® products. This month the Stamping Inkspirations blog hop is technique challenge.

The challenge for us this month is to use our dies. I love using dies in my crafting - after some deliberation I decided that the way I use them most is to create frames and layers. Indeed, several sets are designed to do just that. Other sets have a series of nesting shapes that can be layered to wonderful effect.
Of course, I also love using dies to cut out the images from Designer Series Paper and also images that I've stamped. I have lots of birthdays to celebrate during March so I set to work making a soft, feminine card which is suitable for a birthday or a just a note card.
.jpeg)
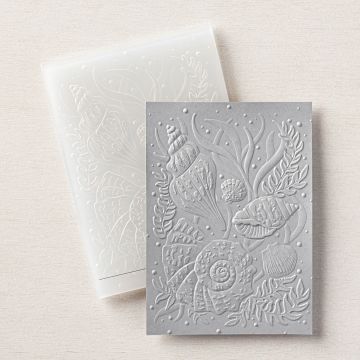
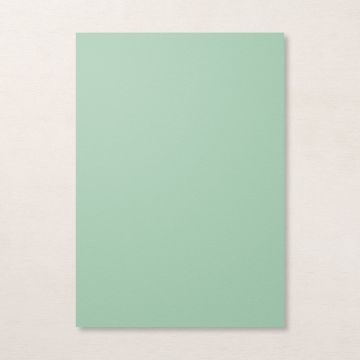
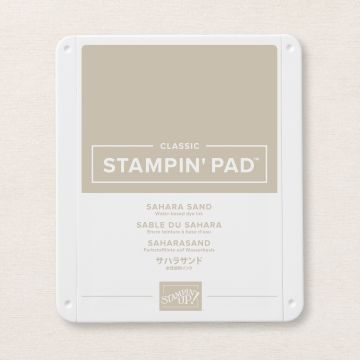
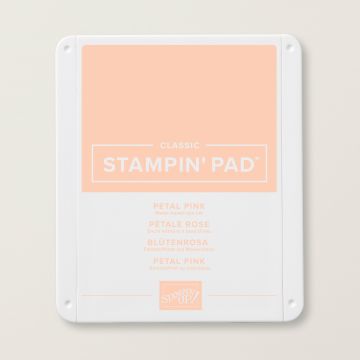
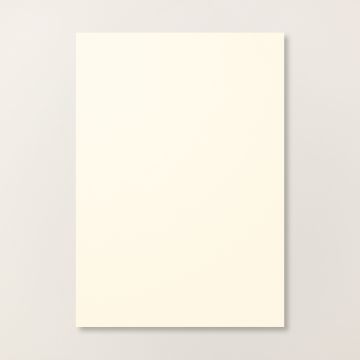
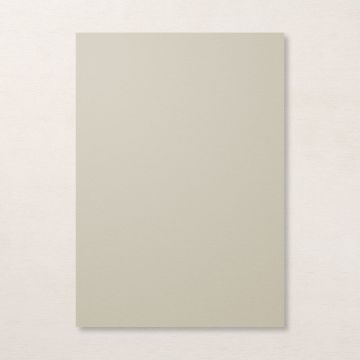
Using the largest die from the Fabulous Frames dies, I created a large textured frame in Petal Pink that I mounted onto a top-folding Thick Very Vanilla card base. When you use the die to cut the frame a perfectly sized layer is cut at the same time. So, I cut a second set from Sahara Sand to create my inside layer. (I've saved the Petal Pink inner and the Sahara Sand frame for another project.) The deep texture on the Sahara Sand layer is added using one of the new, Online Exclusive Basic folders.
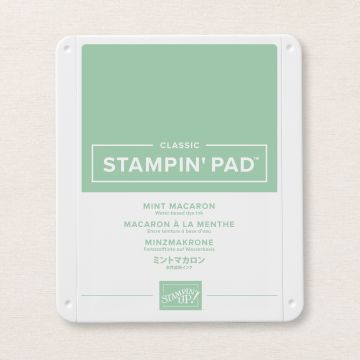
The I made the focal point of my card using the Fragrant Flowers Bundle. The large flower was stamped using Versamark, white heat embossed and then die cut using the coordinating die. Then, I used a selection of inks to colour the image with my Waterpainters. I transferred a little ink from my ink pad on to a clear block, added some water to dilute it down before adding it to the heat embossed image.
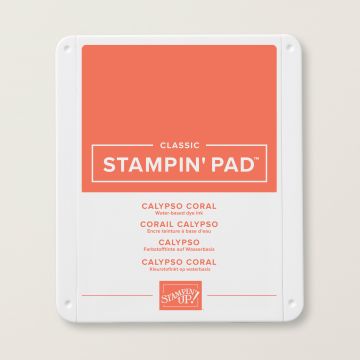
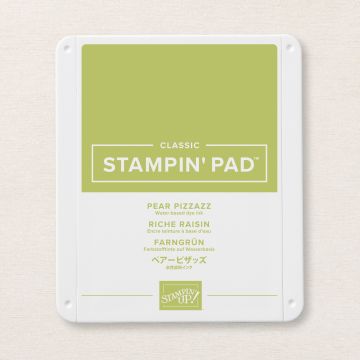
The heat embossing resists the watercolour so, it was relatively easy to keep the Pear Pizzazz on the leaves away from the Petal Pink and Calypso Coral on the petals. I kept the colouring subtle and gentle by adding plenty of water before going to the card. As the flowers dried, they curled a little. By using Glue Dots to adhere them to the card base allowed me to retain the curl which added a bit more texture to the composition.
.jpeg)
The sentiment is also white heat embossed, but this time is used Vellum to allow the colour to peep through. The Glue Dots are hidden under the letters! To finish I added a bow made from Very Vanilla Baker's Twine and some Elegant Faceted Gems.
I hope that you are inspired by my card today and that you will continue along the hop to see what the others have created too. Enjoy the projects. We would love to hear from you and so if you have been inspired, please leave a comment.

Gez Carpenter ● Aurélie Fabre ● Jan Musselman
Karen Henderson ● Ann Krucek ● Lorraine Tierney
Marieke Bart ● Tricia Butts ● Danielle Kassing
Linda Moore ● Susan Webster ● Shel Anderson
Vickie Littlewood ● Judith Patterson
Do
you need any of the products used on today's card? If you live in the
UK you can click on the shopping links below to add them to your
collection today.
Thank you for joining us today! Looking forward to seeing you next time.
Stay safe and as always, happy crafting,

If you would like to order any supplies, and you live in the UK, I would love to be your demonstrator. To purchase the items used for these cards, or any other supplies, please take a look in my online Stampin' Up! shop. You can follow the link or click on the pictures below of the products I have used today. Use the current hostess code (March 2023 code: DXPBGKYG) to get some free product (it will follow in the post after the end of the month). If your order is over £150 do not use the code as you become the hostess and get the rewards. To place an order please visit my online shop HERE.
If you would like to join my team, you can choose your starter kit HERE and if you have any questions, please contact me at furrycatdesigns@gmail.com
All Star Tutorial Bundles
All Star Tutorial Bundles have 12 AMAZING video tutorials to inspire you each month.

Click on the images of the products I have used today to purchase them in my online shop:
Rembember to use the current hostess code.
March 2023 code: DXPBGKYG


.jpeg)
.jpeg)
.jpeg)