Hello and welcome to my blog! Today I am taking part in a blog hop with some fellow enthusiasts who love sharing their creative talents using their Stampin' Up!® products. This month the Stamping Inkspirations blog hop is all about Embossing Techniques.

The very first time I saw heat embossing demonstrated I was hooked. Completely and utterly! That was a very long time ago now, but I am still mesmorised when the powder melts and morphs into a shiny word or pattern. Pure alchemy! Using this technique was a must for today's challenge.
Embossing techniques don't stop with heat embossing! Embossing paste, spread through a stencil or mask, makes a terrific textured background and embossing folders make adding texture to your projects so easy. These techniques both give a WOW factor to projects.
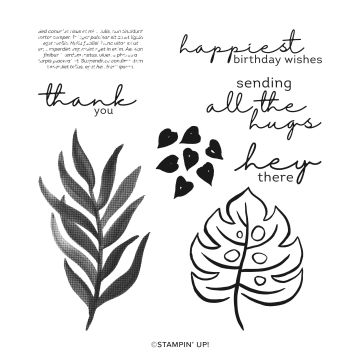
The Picture This dies create a double stitched detail in and around the apertures. I have exaggerated this feature by using two colours - one for the background and a decorated white piece for the inlaid section. I love this feature! To decorate the inlaid panels I picked out the flower shapes from the Hello Beautiful stamps and took inspiration from my floral grid paper.

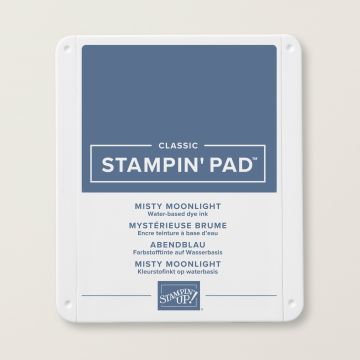
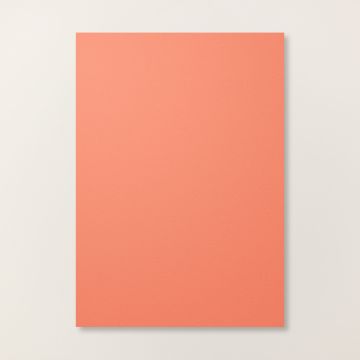
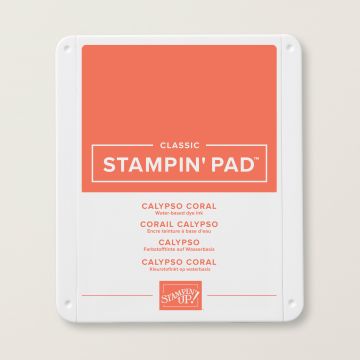
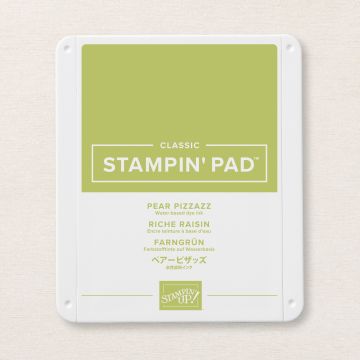
Firstly, I stamped the flowers and leaves, using Misty Moonlight, Pool Party, Calypso Coral and Pear Pizzazz. I allowed them to dry thoroughly (and used an embossing buddy) to ensure that the gold embossing powder only stuck where I wanted it to in the centre of some of the flowers. I used the large dot and the sprinkle of dots to add this detail. To complete the small Pool Party flowers I added a trio of dots to the centre using a Stampin' Write Marker - I used Misty Moonlight, but I think Basic Black would work too.
Next, I gold heat embossed the happiest birthday wishes sentiment from the Artfully Layered set to sit between the two floral panels. For my second embossing technique I decided to use my Stampin' Cut & Emboss machine with an embossing folder. The Brick & Mortar 3-d folder seemed the perfect background for the flowers, and the layers of bricks fit exactly between the apertures. It was meant to be!
I proceeded to make backgrounds in Pool Party, Calypso Coral and Misty Moonlight so that I ended up with three birthday cards which were exactly the same, but look different! March is a busy month to celebrate birthdays for me - now I'm all set to send birthday greetings to the first three!

I hope that you are inspired by my cards today and that you will continue along the hop to see what the others have created too. We would love to hear from you and so if you have been inspired, please leave a comment.
Angie McKenzie ● Aurélie Fabre ● Jill Chapman
Jo Blackman ● Leonie Stuart ● Tricia Butts
Karen Henderson ● Mo Rootes ● Jan Musselman
Susan Webster ● Sue Allen ● Chris Smith
Teri West ● Gez Carpenter ● Danielle Kassing
Elaine de Montmorency ● Terry Hamilton ● Vickie Littlewood
Lorraine Tierney ● Annette Ball ● Marieke Bart
Do
you need any of the products used on today's card? If you live in the
UK you can click on the shopping links below to add them to your
collection today.
Add next blog graphic and link to next person. Thank you for joining us today! Looking forward to seeing you next time. Stay safe and as always, happy crafting,

If you would like to order any supplies, and you live in the UK, I would love to be your demonstrator. Use the hostess code VSVDCRUJ to get some free product (it will follow in the post after the end of the month). If your order is over £150 do not use the code as you become the hostess and get the rewards. To place an order please visit my online shop HERE.
If you would like to join my team, you can choose your starter kit HERE and if you have any questions, please contact me at furrycatdesigns@gmail.com
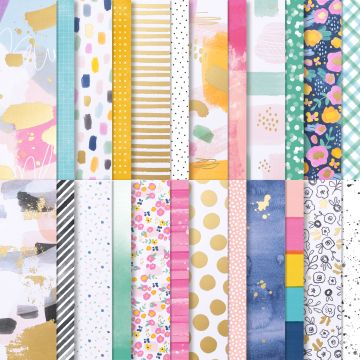
Click on the images below to purchase them in my online shop:


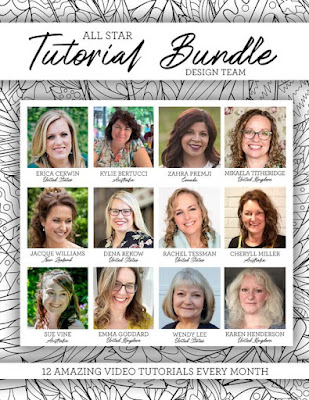
All Star Tutorial Bundles
All Star Tutorial Bundles have 12 AMAZING video tutorials to inspire you each month.

Click HERE for sneak peeks or to purchase.