Hello and welcome to my blog. Earlier this month I participated in Kylie Bertucci's International Blog Highlights and after the voting closed I was delighted to find myself in spot number 10, and hence eligible to take part in this winners blog hop.

Thank you so much to everyone who visited the gallery and voted for my card. If you missed it, you can read about it here.

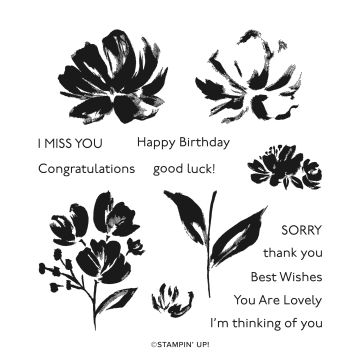
My card for today uses the same suite, Fine Art Floral, and even though I chose to use the same piece of Designer Series Paper the card has a different look. The gilded leafing embellishment is so much fun to use and it's SO pretty.

I have to be honest and say that this card was one of those happy accidents where the card you ended up with wasn't the one you intended to make! I was trying to recreate something similar to one of the cards I saw Sara Douglass create during our OnStage at Home event at the end of last year.
It's a Love It, Chop It card with the added luxury of the gilding. I enjoy making square cards, and do so quite often. That's fortunate for me because unfortunately, I chopped my DSP a little too enthusiastically and the pieces left were too small for a standard sized card, but perfect for a square card!

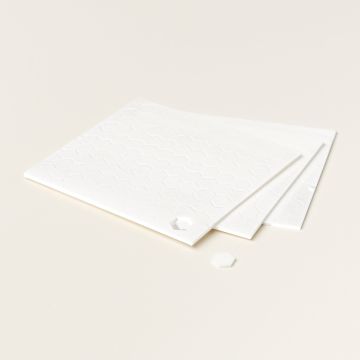
I cut a square of white card and added a piece of adhesive sheet on top of it so that the whole square was sticky. Then I added the angled strips of DSP leaving a small gap between them. Once all the DSP strips were adhered I could add the gilded leafing - mine are stored in a large container and I simply laid the decorated layer face down into them and pressed to ensure they stuck well. It's quite interesting to lift the piece up as an abundance of the gilding flakes stick to it! I used a soft brush to remove the excess, which can be returned to the storage box. The small, sticky gaps have been transformed into a glorious golden stripes.
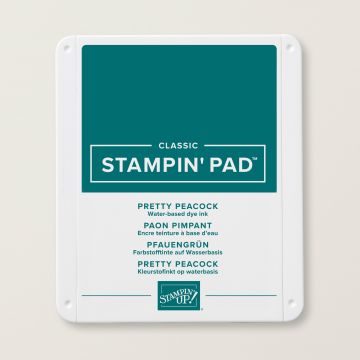
To finish the card I added a Pretty Peacock layer before using dimensionals to mount it onto the square Smoky Slate base card. The sentiment is stamped in Pretty Peacock on Smoky Slate before being cropped out using a die from the suite. The little happy accident card is elegant and I am pleased with how it turned out, but I had to make the card I had intended to make aswell! This time I added a birthday sentiment and some of the gorgeous gold ribbon too.

Thank you for stopping by today, you are currently visiting Karen Henderson. You can follow the hop and look at the projects from the other winners by clicking on the names below:
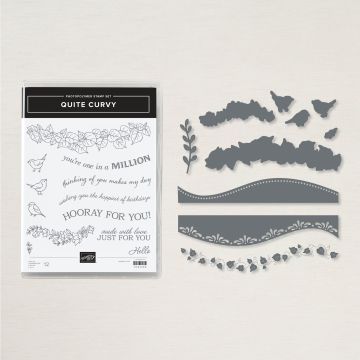
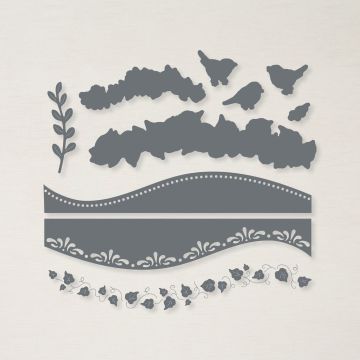
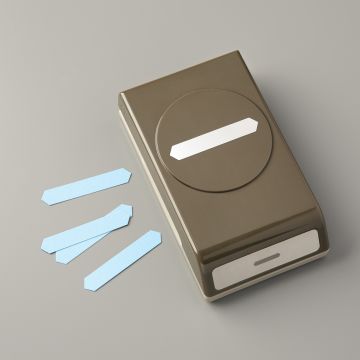
If you want to purchase the items used for these cards, or any other supplies, please take a look in my online Stampin' Up! shop. You can follow the link or click on the pictures below of the products I have used today.
Stay safe and as always, happy crafting,

If you would like to order any supplies, and you live in the UK, I would love to be your demonstrator. Use the hostess code J39MYFK4 to get some free product (it will follow in the post after the end of the month). If your order is over £150 do not use the code as you become the hostess and get the rewards. To place an order please visit my online shop HERE.
If you would like to join my team, you can choose your starter kit HERE and if you have any questions, please contact me at furrycatdesigns@gmail.com
Click on the images below to purchase them in my online shop: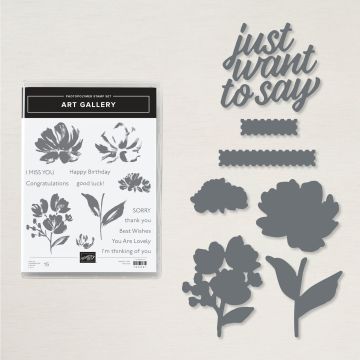


All Star Tutorial Bundles have 12 AMAZING video tutorials to inspire you each month.


Click HERE for sneak peeks, to purchase or subscribe.