


Hello and welcome to our All Star Tutorial Bundle Design Team blog hop for January 2021. This month we are using the Fine Art Floral Suite. The tutorials are produced by twelve demonstrators from around the world and are exclusive to those that have earnt or purchased them. They come complete with photos and video directions. The supply list includes measurements in both metric and imperial.


Here is a sneak peek of the Fine Art Floral bundle of tutorials.

And a closer look at my own project included this month.

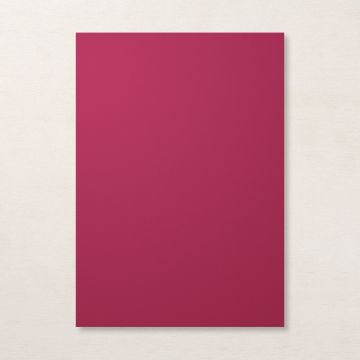
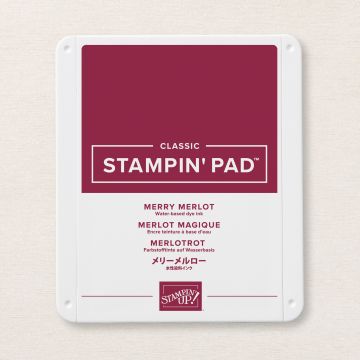
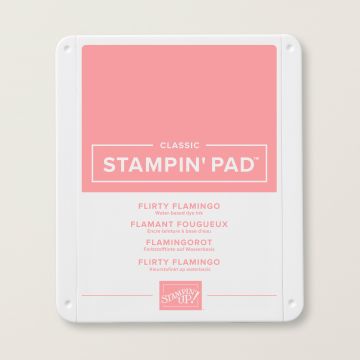
For the blog hop each of us in the team shares a different project to the one included in the tutorial bundle ensuring that you have plenty of inspiration for using the Fine Art Floral Suite. I have used Flirty Flamingo and Merry Merlot for these cards which is the same colourway that I used for my tutorial project.
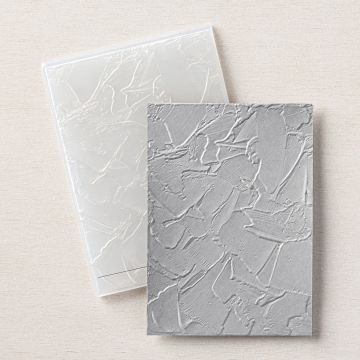
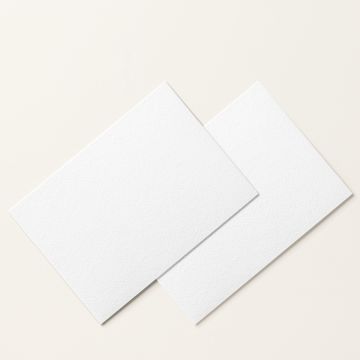
The background for my card is created on watercolour paper using a fun technique that creates a different pattern each time. Ink is applied directly to the embossing folder and both the paper and the inky folder are spritzed with water before whizzing it through the Cut & Emboss machine. The watercolour paper soaks up the majority of the ink and water, so it's not too messy. Allow the paper to dry thoroughly.

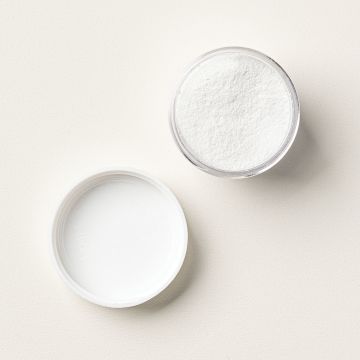
The next step is really fun - applying the gilding. Using a sponge dauber I applied Versamark ink over some of the ridges and then sprinkled it with Heat & Stick powder. Once heated using a Heat Tool the powder becomes shiny and sticky. The gilded leaf sticks easily, but needs to be burnished to remove the excess - I rubbed a soft brush over the surface to do this. I think I was quite generous with the Versamark resulting in a background with a great shiny lustre.

The stamps are photopolymer and two step to give depth to the flowers. I stamped a set each in Flirty Flamingo and Merry Merlot and then using my snips I carefully trimmed the flowers away from the leaves. Each flower head was added to a Mossy Meadow spray. Extra detail was added with a darker ink or gilding.
Each card was finished by adding some of the Golden Garden acetate and a sentiment on a die banner. I hope you have a go at these techniques - I really had fun with them!
This is the start of another six months of tutorials and the opportunity to subscribe to all six of those tutorial bundles. The following suites will be featured in the coming months:
January 2021 - Fine Art Floral Suite
February 2021 - Love You Always Suite
March 2021 - Hydrangea Hill Suite
April 2021 - Flowering Cactus Product Medley
May 2021 - Ice Cream Corner Suite
June 2021 - Sand & Sea Suite
To enjoy these tutorials you have several options
- Subscription - The total cost of the subscription for 72 exclusive video tutorials is £57.50. This is equivalent to paying £11.50 for five months and earning the sixth month for free. You can choose to make a single payment of £57.50 or subscribe to make 5 monthly payments of £11.50
- Shop with me - if you order from my online store you will receive that month's bundle for free
- Purchase - Buy the bundle for £11.50
- Join my Team - team members will receive the tutorials for free
If you want to purchase the items used for these cards, or any other supplies, please take a look in my online Stampin' Up! shop. You can follow the link or click on the pictures below of the products I have used today.
Stay safe and as always, happy crafting,

If you would like to order any supplies, and you live in the UK, I would love to be your demonstrator. Use the hostess code J39MYFK4 to get some free product (it will follow in the post after the end of the month). If your order is over £150 do not use the code as you become the hostess and get the rewards. To place an order please visit my online shop HERE.
If you would like to join my team, you can choose your starter kit HERE and if you have any questions, please contact me at furrycatdesigns@gmail.com
Click on the images below to purchase them in my online shop: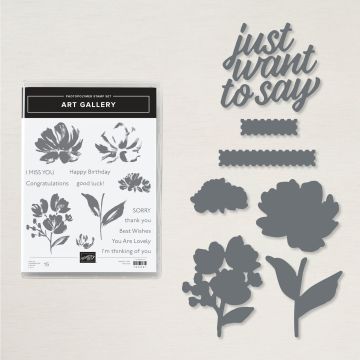


Love the background. Looks like so much fun
ReplyDeleteThanks Wendy - sure was fun, you should try it!
DeleteSuch a beautiful color combo with the deep reds and the gold. Thanks for sharing!
ReplyDeleteThanks Rachel - the gilding has such a wonderful lustre too.
DeleteKaren, amazing ... and what a great technique for the Gilding Flakes. Thanks for sharing! xxx
ReplyDeleteThanks Cheryll - the Gilding Flakes are a little addictive, and so much fun to use!
DeleteStunning card! Love how you've used the gilded leafing.
ReplyDeleteThanks Zahra - I'm sure I am going to be using the Gilding Flakes regularly!
DeleteVery pretty
ReplyDeleteThank you very much.
DeleteLove the background with the Gilding!
ReplyDeleteThanks Emma.
DeleteThat is gorgeous! I love the gilded panel across the middle and that background ... beautiful card x
ReplyDeleteThank you so much Mikaela. The gilding had a wonderful lustre, and makes a great change from gold heat embossing that also love.
DeleteVersatile card. The gilded fakes look amazing. Thanks Karen for your inspiration on our All Star Video Tutorial Bundle Design Team!
ReplyDeleteThanks Kylie. The gilded flakes are so much fun!
Delete