Hello
and welcome to my blog. I am thrilled to be taking part in a blog hop
with fellow demonstrators, from around the world, who are part of Kylie
Bertucci's training program. There is no theme for the hop, but there is
sure to be a wealth of inspiration for creating with Stampin' Up!
products.
I was so excited to unwrap my Peony Garden Suite and begin creating with it. I have always been fascinaetd by peonies - how do the flowers unfurl from such a small tight ball to become such wonderfully huge and voluptuous blooms? I haven't made a home decor piece for a while so I thought that this would be the ideal opportunity - pretty flowers are always great to display!
I made a square shadow frame from Basic Gray cardstock and lined the base with a square of card embossed with the Dainty Diamonds Folder and one of the fabulous square Vellum doilies. Now, I had vowed not to buy any more doilies because the ones I had bought in the past have sat, unloved and unused - even though I thought they were pretty I never used them on my projects! I am allowed to change my mind aren't I? These vellum doilies are beautiful and happy to say that I've started off well and used one in my first project with this suite!
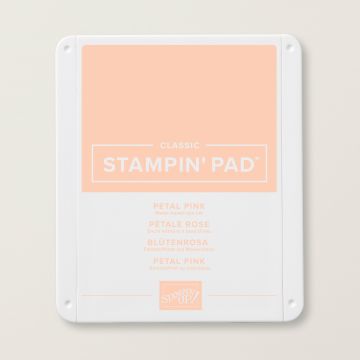
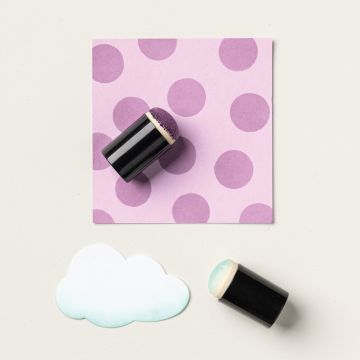
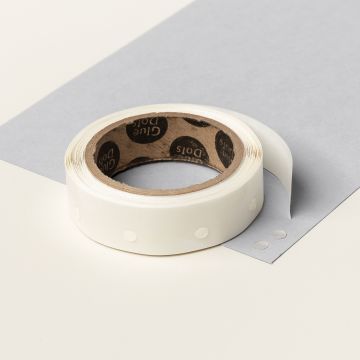
The first thing I did when preparing the pieces for my flower was to scrunch up the Petal Pink card. I unravelled it and then re-scrunched it repeatedly until the fibres in the card were soft and pliable. Then, I die cut the pieces for the flower - I cut an extra piece of the second largest of the layers to give an even fuller look. Using Petal Pink ink and a sponge dauber I emphasised the edges of the petals before assembling the flower, securing the layers with glue dots. The stamen is from Basic Gray card and the leaves are Mossy Meadow and Old Olive. The shimmer ribbon bow is lifted on a double layer of dimensionals so that it is the same depth as the flower. The set of dies includes a fabulous scalloped border which I have used to decorate the edges of the frame.
Thank
you for visiting my blog today - you are currently visiting Karen
Henderson. Please look at the list below to see who to visit next. I am
sure you will find lots of inspiration on your journey around the hop.
Make sure you don't miss any!
Blog Hop List:
If
you want to purchase the items used for this project, or any other
supplies, please take a look in my online Stampin' Up! shop. You can
follow the link or click on the pictures below of the products I have
used today.
Stay safe and as always, happy crafting,
If you would like to order any supplies, and you live in the UK, I would love to be your demonstrator. Use the hostess code VC7YHH9K to get some free product (it will follow in the post after the end of the month). If your order is over £150 do not use the code as you become the hostess and get rewards. To place an order please visit my online shop HERE.
If you would like to join my team, you can choose your starter kit HERE and if you have any questions, please contact me at furrycatdesigns@gmail.com
Click on the images below to purchase them in my online shop:
I'm really excited to be a member of the All Star Tutorial Bundle Team.
The team
comprises 12 Demonstrators from all over the world, and each month we
publish a a fabulous Tutorial Bundle (12 tutuorials compiled into a
PDF).
How can you get your hands on this month's PDF of tutorials?
Shop with me
- if you order from my online store you will receive that month's
bundle for FREE. Be sure to use the Monthly Host Code. You can
find the Monthly Host Code at the foot of this post or on the side bar
to the right.
Join my Team - team members will receive the tutorials for FREE.
Purchase - Buy the March Bundle for £11.50. You can buy in any currency and PayPal will do the conversion for you.


Love how you added the texture by scrunching your paper! This is beautiful!
ReplyDeleteThank you Melva. Scrunching the paper made it feel so soft and pliable. I will do this again for sure!
DeleteYour peony is gorgeous! I love the little frame with the scalloped embossing on it!
ReplyDeleteThank you Theresa.
DeleteThe scalloped edge adds a pretty finish to the frame - the dies are fabulous to use!
Such a darling project, Karen! Looks so pretty!
ReplyDeleteThanks Kylie, I'm pleased you like it!
DeleteI loved all the texture of this beautiful flower!
ReplyDeleteThank you, Laurie. Who would think that scrunching up the paper would enhance the project!!
DeleteJust beautiful!
ReplyDeleteGorgeous Karen!
ReplyDeleteThank you Kylie.
DeleteYour home decor piece is stunning Karen!
ReplyDeleteThank you Colleen, I am happy you like it!
DeleteWow...love the added texture looks great
ReplyDeleteThanks Michele - I'm going to remember to scrunch the paper on other projects too. The texture is fab!
DeleteSo pretty Karen! I love it! Now I need the Doilies too!
ReplyDeleteKate, you've made me smile! The doilies really are pretty - and I've used them a few times since I made this project too. There is hope that I might use up the whole packet!!
DeleteWow that is great about the embossing folder for the texture
ReplyDeleteGlad you like it Diane.
DeleteWow! Absolutely stunning, Karen!
ReplyDeleteThank you very much Bonnie. So pleased you like it!
DeleteWonderful project Karen. Gorgeous flower and love the texture. Thank you for taking part in our Demonstrator Training Support Program blog this month.
ReplyDeleteBlog hopping is so much fun, and I'm thrilled you like my project!
DeleteLove the textures and layers. Beautiful color combination.
ReplyDeleteThank you Tricia. Grey and pink play very well together!
DeleteGorgeous project!😊
ReplyDelete