Hello and welcome to my blog. Today, I have the utmost pleasure in participating in the Stamping INKspiration blog hop. The theme this month is Something New. As January kicks off 2021 it's a great place to start something new - a new regime, a resolution or indeed a new Stampin' Up! Catalogue!

I have to admit that I have been slightly overwhelmed by my new stash of products from the January to June Mini Catalogue - lots of beautiful stamps and papers and a flurry of ideas whizzing through my head (not to mention all the lovely samples that can be seen if you dip into Pinterest!). But, where to start?
I have several people to send birthday greetings to in January, so my aim was to make cards for them. Starting at the beginning is a very good place to start and as the Fine Art Floral Suite features on the front of the new Mini catalogue, that's where I began. Simply putting ink to paper with some Simple Stamping was enough to start my creative juices flowing. Fast forward several hours of indulgent crafty time, and I have a pile of pretty cards ready to post.
Here are two of the cards I came up with. They are the same - just one is lighter than the other.

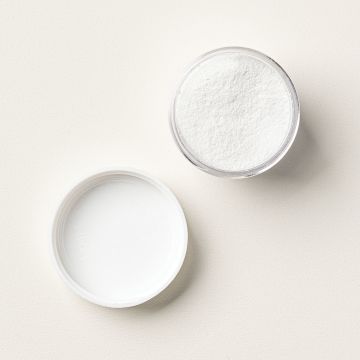
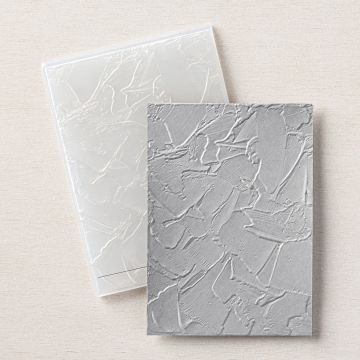
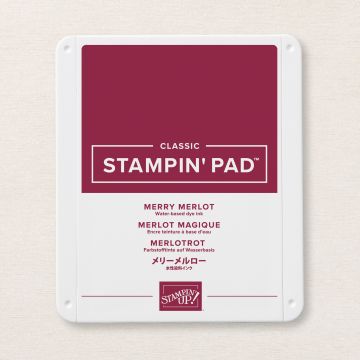
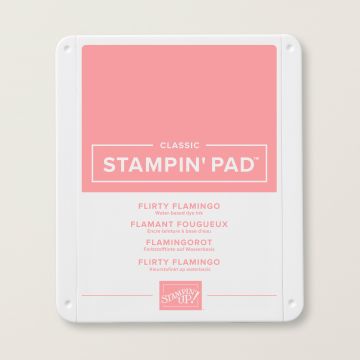
The Merry Merlot card base is over stamped with Merry Merlot flowers - tone on tone stamping makes such an easy, effective background. I learnt how to make the textured layer from Sara Douglass during the Demonstrator OnStage At Home event - it's easy, fun and each one is different! You need an embossing folder (I used the Painted Texture 3d embossing folder), watercolour paper, two ink pads and water. Apply the ink directly to the embossing folder (the side with the Stampin' Up! logo on it) from the ink pad. I covered the whole side with the lighter colour (in this case Flirty Flamingo) and then added some darker splashes of colour as highlights (Merry Merlot). Before running the paper through the die cutting machine, spritz the ink on the folder and the watercolour paper with water. The watercolour paper soaks up the water and ink revealing a fabulous background, without too much clearing up to do, which is always good!

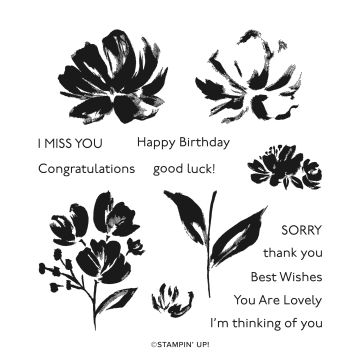
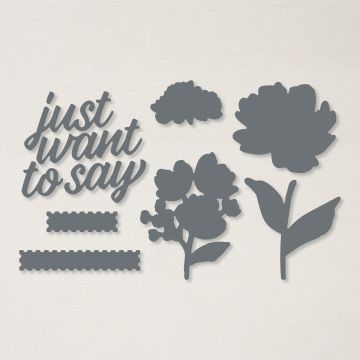
The flowers are created with the two-step stamps - the first, more solid image, was stamped off first to create a lighter shade and then the detail was added with full strength ink before being die cut and raised up on dimensionals above the leaves.
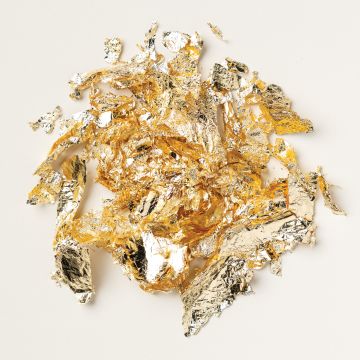
The thin band of gold patterned acetate is topped with rouched ribbon (I pulled a couple of the threads from the edge to gather it up) and adhered with Tear & Tape. To complete the look I've used a gold foil layer, gold heat embossed the sentiment, added a trio of metallic pearls and a splatter or two from my Wink of Stella Pen.

Thank you for stopping by today - I hope you have enjoyed my Something New creation. Please be sure to hop around to see all the amazing Something New projects. I am know you don't want to miss any creative inspiration...
JANUARY 2021
Angie McKenzie ● Jo Blackman ● Jan Musselman
Tricia Butts ● Shel Anderson ● Libby Fens
Gez Carpenter ● Sue Allen ● Karen Henderson
Elaine de Montmorency ● Leonie Stuart ● Mo Rootes
Linda Moore ● Annette Ball ● Jill Chapman
Ann Krucek ● Susan Webster ● JoAnn Pollock
Narelle Fasulo ● Terry Hamilton ● Rebecca-Jo Unwin
Susan Simpson ● Danielle Kassing ● Sharon Hashimoto Burkert
Cheryll Miller ● Rochelle Laird-Smith
Teri West ● Chris Smith ● Melissa Gifford
Vicki Milyard ● Anne Marie Hile ● Aurélie Fabre
Mikaela Titheridge ● Alejandra Gomez
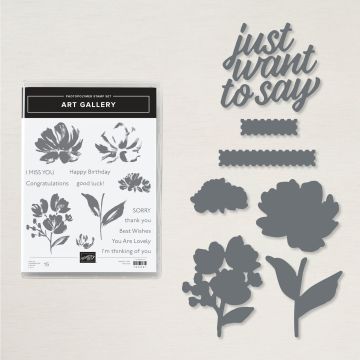
If you want to purchase the items used for these cards, or any other supplies, please take a look in my online Stampin' Up! shop. You can follow the link or click on the pictures below of the products I have used today.
Stay safe and as always, happy crafting,

If you would like to order any supplies, and you live in the UK, I would love to be your demonstrator. Use the hostess code J39MYFK4 to get some free product (it will follow in the post after the end of the month). If your order is over £150 do not use the code as you become the hostess and get the rewards. To place an order please visit my online shop HERE.
If you would like to join my team, you can choose your starter kit HERE and if you have any questions, please contact me at furrycatdesigns@gmail.com
Click on the images below to purchase them in my online shop:






All Star Tutorial Bundles have 12 AMAZING projects to inspire you each month.

Click HERE for sneak peaks, to purchase or subscribe.
FREE with a purchase from my online store.