


Hello and welcome to my blog! Today I am taking part in a blog hop with some fellow enthusiasts who love sharing their creative talents using their Stampin' Up!® products. We have a Technique Challenge for this month's Stamping Inkspirations blog hop. It's all about Blending.

I began my process with some Basic White card, some ink pads, Blending Brushes and the Artistic Decorative Masks. Even though I had a lovely time creating patterns, mostly with a selection of the InColors, the finished backgrounds didn't speak to me. So, I've added them to my bits and pieces pile for use another day.

After a rest, I regrouped and began on a completely different project. I pulled out the Snowman Magic stamps with the coordinating Snowman dies and thought about the simplest kind of blending possible. I switched out the Basic White for Shimmery White card to add sparkle on a Christmas card. I die cut the snowflake layer and an additional piece of a similar size. I stamped the sentiment towards the top of the plain layer using Versamark ink and silver heat embossed it. A Christmas card really shouts out for heat embossing, doesn't it?
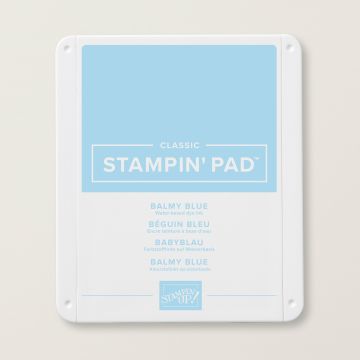
As I already had my blending brushes out I began creating a background with them - I swirled some Balmy Blue ink over the layer, concentrating on the upper portion. The heat embossing resists the ink. Once I felt there was enough colour I added the die cut snowflake layer and the other elements to complete the scene - a snowman, the cutest little rabbit and a tree. The little scene was then mounted onto an embossed layer of Night of Navy and a Night of Navy card base. It's the one on the right handside.

I was happy with my Christmas card, but I wanted to experiment with the blending theme a little bit more, so I tried creating a hue of colour for the background in another way. The starting point was the same - two pieces of Shimmery White card, one die cut with snowflakes, the other plain. As before I silver heat embossed the sentiment and then spritzed lightly with water before adding a light wash of Balmy Blue ink over it. The spitzed water helps the ink wash to flow over the paper. For the inky wash, I squished some ink from my inkpad onto a large block and mixed it with water from the wide, flat bristled Aqua Painter. It makes it easy to apply the colour.
After allowing the layer to dry (and flatten out a bit), I applied a second inky wash, but concentrated on the area where the words appear. After adding the other elements into the scene, this time I added a skinny layer of Balmy Blue around it before mounting it onto the Night of Navy card base. You can see this version on the left handside in the picture above.
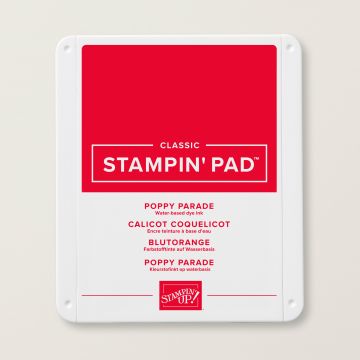
I got a little carried away and continued to make a few more cards, but I mixed and matched my favourite bits - my final combo has a watercolour washed background on an embossed Night of Navy layer, and there is a trio of sparkles too. Of course there is, it's a blue, white and silver Christmas card! By the way, I used adhesive sheet on the Pear Pizzazz and Basic Gray card to make it easy to adhere the tree and the stick arms to the card. The rabbit, the snowman and his features are stamped in Basic Gray ink, the little heart is stamped in Poppy Parade and the carrot nose is coloured with a Cajun Craze Blend. Here is the pile of cards altogether.

I hope that you are inspired by my cards (and my indecisive thought process!) today and that you will continue along the hop to see what the others have created too. Enjoy the projects. We would love to hear from you and so if you have been inspired, please leave a comment.
Angie McKenzie ● Teri West ● Aurélie Fabre
Tricia Butts ● Karen Henderson ● Mo Rootes
Lorraine Tierney ● Leonie Stuart ● Marieke Bart
Linda A. Moore ● Annette Ball ● Gez Carpenter
Ann Krucek ● Vickie Littlewood
Do
you need any of the products used on today's cards? If you live in the
UK you can click on the shopping links below to add them to your
collection today.
Thank you for joining us today! Looking forward to seeing you next time.
Stay safe and as always, happy crafting,

If you would like to order any supplies, and you live in the UK, I would love to be your demonstrator. Use the hostess code 6TUXZXEC to get some free product (it will follow in the post after the end of the month). If your order is over £150 do not use the code as you become the hostess and get the rewards. To place an order please visit my online shop HERE.
If you would like to join my team, you can choose your starter kit HERE and if you have any questions, please contact me at furrycatdesigns@gmail.com
All Star Tutorial Bundles
All Star Tutorial Bundles have 12 AMAZING video tutorials to inspire you each month.

Click HERE for sneak peeks or to purchase.
Sale-A-Bration


Shopping
Host
Join
Click on the images of the products I have used today to purchase them in my online shop:


Adorable cards Karen, love them x
ReplyDeleteReally pretty cards!
ReplyDeleteCute Christmas cards! Thank you for sharing your technique!
ReplyDelete