Hello and welcome to our All Star Tutorial Bundle Design Team blog hop for September 2020. We have some fabulous projects and inspiration for you using the Playing with Patterns Suite on this hop and in our Tutorial Bundle.
What are tutorial bundles I hear you ask?
Each
month the Tutorial Bundle contains 12 tutorials with projects and
inspiration all featuring the same selected suite or bundle from the
Stampin' Up! Annual Catalogue. The tutorials are compiled
into a fabulous PDF providing photos, a link to how-to video
instructions, a list of supplies used and measurements in both Metric
and Imperial.
Join my Team - team members will receive the tutorials for FREE.
Purchase - Buy the Bundle for £11.50. You can buy in any currency and PayPal will do the conversion for you.
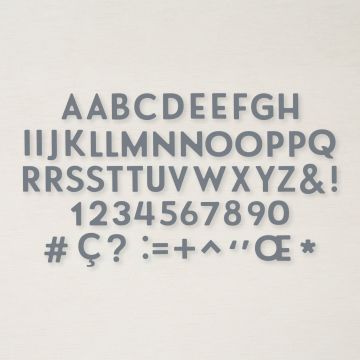
When I saw this suite in the catalogue the letter dies jumped out at me and I could see so many possibilities - names, numbers for birthdays and anniversaries, hello and thanks to name but a few. The adhesive sheets make adhering the letters to your project really easy. Foam adhesive sheets, which are a solid sheet of dimensionals, can also be used to give your project lift.
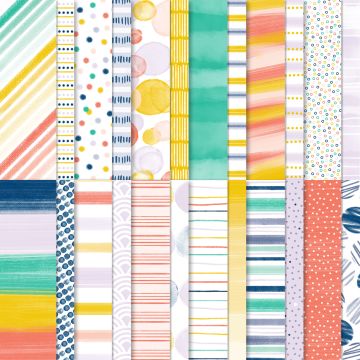
The Designer Series Paper pack has an array of fabulous patterns. I chose to use a pattern featuring a colour that I rarely use - Crushed Curry. It's teamed up with Night of Navy for a bold looking card. I made a little set of them and they combine several things that make me happy when I'm card making - matting and layering, stitched edges and embossing (especially using the Subtle folder!).
There was also the added bonus of two projects for the price of one because I featured the negative space that the letters left behind, saving the solid letters for another day.
Before you continue on your way around the hop here is a sneak peek of my project included with in the Tutorial Bundle this month.
- July 2020 - Peony Garden Suite
- August 2020 - In Good Taste Suite
- September 2020 - Playing with Patterns Suite
- October 2020 - Flowers for Every Season Suite
- November 2020 - Forever Greenery Suite
- December 2020 - Artistry Blooms Suite
These are exclusive projects and will not be shared on our blogs or social media. Here is a sneak peek for this month.
How can you get your hands on the PDF Tutorial Bundles?
Shop with me
- if you order from my online store you will receive that month's
bundle for FREE. Be sure to use the Monthly Host Code W47PB949
Join my Team - team members will receive the tutorials for FREE.
Purchase - Buy the Bundle for £11.50. You can buy in any currency and PayPal will do the conversion for you.
Your tutorial Bundle will be available from the 1st of the month and will be sent to the email address you provide to PayPal.
And on to my project for the hop!
When I saw this suite in the catalogue the letter dies jumped out at me and I could see so many possibilities - names, numbers for birthdays and anniversaries, hello and thanks to name but a few. The adhesive sheets make adhering the letters to your project really easy. Foam adhesive sheets, which are a solid sheet of dimensionals, can also be used to give your project lift.
The Designer Series Paper pack has an array of fabulous patterns. I chose to use a pattern featuring a colour that I rarely use - Crushed Curry. It's teamed up with Night of Navy for a bold looking card. I made a little set of them and they combine several things that make me happy when I'm card making - matting and layering, stitched edges and embossing (especially using the Subtle folder!).
There was also the added bonus of two projects for the price of one because I featured the negative space that the letters left behind, saving the solid letters for another day.
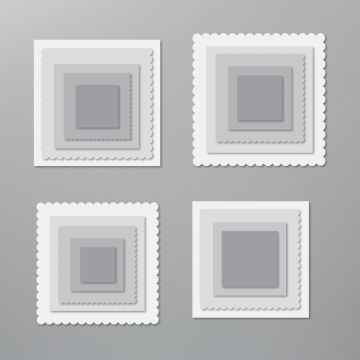
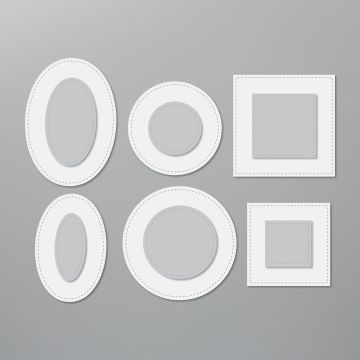
So that I could replicate the Happy Birthday 2 U graphic multiple times I laid the letters out on my grid paper and taped them together so that I could die cut them as if they were a single die. I applied adhesive sheet or foam adhesive sheet to pieces of card and die cut the letters inside a layering sqaure die all in one go. This nests neatly onto a Stitched Square.
I decided to replace the bubbles within the letter B back into the negative space. The easiest method that I found to do this was to adhere the negative space graphic to the stitched sqaure and then carefully peel the backing off only the bubble parts of the letter B, replace the die cut B back into it's hole and then stick the bubbles onto the die cut square through the holes in the B. Finally, you carefully remove the solid die cut B, leaving the bubbles behind. The pokey tool end of my Take your Pick tool was very useful for this!
Before you continue on your way around the hop here is a sneak peek of my project included with in the Tutorial Bundle this month.
Click on the names on the list below to hop around and see all the other amazing projects from the rest of the team. Enjoy!
If you want to purchase the items used for this card, or any other supplies, please take a look in my online Stampin' Up! shop. You can follow the link or click on the pictures below of the products I have used today.
Stay safe and as always, happy crafting,
If
you would like to order any supplies, and you live in the UK, I would
love to be your demonstrator. Use the hostess code W47PB949 to get some
free product (it will follow in the post after the end of the month). If
your order is over £150 do not use the code as you become the hostess
and get rewards. To place an order please visit my online shop HERE.
If you would like to join my team, you can choose your starter kit HERE and if you have any questions, please contact me at furrycatdesigns@gmail.com
Click on the images below to purchase them in my online shop:




Fabulous set of cards Karen! Great idea to tape the letters/numbers down onto a paper template to create multiples. xx
ReplyDeleteThanks Cheryll - sometimes you just want to make mutiples of a card and I'm always on the look out for easy ways to do it!
DeleteLove how you mixed and match each of the patterns to create multiple projects
ReplyDeleteThanks Wendy - I can be indecisive and I also follow the mantra of waste not want not!!
DeleteLove your colour combos
ReplyDeleteThanks Emma
Delete