Tuesday, 14 November 2017

Introducing the Stamparatus

I am SO excited to introduce you to the Stamparatus, an innovative stamp placement tool, from Stampin' Up!
  

The Stamparatus will change the way you stamp, and before long, you’ll wonder how you ever crafted without it!

Why do YOU need one?  Here are some of the things you can do with the Stamparatus
  • Make multiples with ease
  • Consistently stamp crisp, clean images
  • If you want a darker impression, apply more ink and restamp—no need to start over
  • Make fewer mistakes, saving time and money
  • Easily create 2-step, 3-step, and 4-step stamped images using reversible plates
  • Develop new and specialised stamping techniques with adjustable stamping plates and precision placement 
This video from Stampin' Up! shows you all about this fabulous new tool:


More product details!
  • Compatible with Stampin’ Up!’s red rubber and photopolymer stamps
  • Foam mat to use with photopolymer stamps
  • Rulers and gridlines for quick measuring
  • 2 open sides so you can stamp on larger paper
  • 2 reversible plates: a total of 4 surfaces to work with
  • 2 magnets to hold the paper in place
  • Magnet storage areas
  • Retail Price–59,00 €/£44.00


Wow!  How do I get one?

With the launch of this tool, we are trying something different: testing a new reservation system. And it acts like a true pre-order. You reserve your spot and Stampin' Up! guarantee shipment as soon as the product arrives at the warehouse.  Everyone will place reservations and receive their product at the same time.  This system will allow us to get the product to market as soon as possible while avoiding backorders and efficiently managing inventory.

The global launch will feature three reservation windows.  For each window, please note the following:  
  • Reservation quantities are while supplies last only.
  • Limit is 1 tool per customer per reservation window, but you may participate in multiple reservation windows.
  • The reservation windows and approximate dispatch dates are as follows:
    • 16-30 November 2017 - approximate dispatch 1 February 2018
    • 5-30 December 2017 - approximate dispatch 19 March 2018
    • 15-30 January 2018 - approximate dispatch 15 April 2018

You can PRE-Order a Stamparatus during the reservation windows above.  The first one starts at 9PM on Thursday when you can reserve one for yourself.  Visit my online store HERE and log yourself in or set yourself up an account and then follow the STAMPARATUS page and choose RESERVE.


When the warehouse receives stock of the Stamparatus one will be added to a shopping basket for you, and you will be notified by email.  At this time you can add more products to your basket if you wish and then finalise and pay for your order.

All I can say is WOW! and I can't wait to get mine.  Happy Crafting,


If you would like to order any supplies, and you live in the UK, I would love to be your demonstrator.  Please visit my online shop: HERE

If you would like to join my team, you can choose your starter kit HERE and if you have any questions, please contact me at furrycatdesigns@gmail.com


Friday, 3 November 2017

Blue Painted Harvest

Hello again and welcome back.  When I saw the Painted Harvest set all I initially saw was yellow sunflowers.  I adore sunflowers in the garden with their tall, strong stems and nodding heads or even the little dwarf teddy bear style ones that sit at the front of the border.  This set is so much more than that though.


This card combines the beauty of the Painted Harvest set with a versatile greeting from the Label Me Pretty set.  I stamped the blooms randomly over the left hand corner of the card.  I always find it tricky to stamp randomly - I usually end up having a row of images!  I wanted to have a mixture of full flowers alongside some partial blooms at the edges of the card.

The flower is made by stamping two different stamps one on top of the other to create texture and depth to the image.  Firstly, I stamped the larger, bigger image in Pool Party ink followed by the second image in Marina Mist.  To line the images up I used the hole in the centre of the flower as a guide, rotating the second stamp over the top until they line up.  To finish off the centres of the flowers are stamped in Sahara Sand ink.


The sentiment is stamped using Marina Mist ink and punched out with a 1 1/2" circle punch which is then layered onto die cut circles.  There is a twist of natural trim ribbon to finish, and not a single yellow sunflower in sight!

Happy crafting,


If you would like to order any supplies, I would love to be your demonstrator.  Please visit my online shop: HERE

If you would like to join my team, you can choose your starter kit HERE and if you have any questions, please contact me at furrycatdesigns@gmail.com

Alternatively, you can click on one of the images below showing the supplies used:


Wednesday, 1 November 2017

Stampin' Blends are here!

Hello and welcome back to my blog.  Sorry for the long absence - my family has been dealing with the loss of a loved one and blogging has taken a back seat.  However, my crafting itch is slowly returning and the arrival of a brand new product line has motivated me to get started again.


Say HELLO to Stampin’ Blends: These high-quality, dual-tip markers come in twelve exclusive Stampin’ Up! colours. They each have a light and a dark shade, which will give you the utmost blending experience!  

In addition, Stampin' Up! are also introducing the Color Me Happy Project Kit and coordinating stamps, which include beautiful line-art imagery that will give you ample opportunity to test these markers’ superior blending abilities.  They are available from TODAY and you can see the details HERE.


For my first go with the markers I have coloured some pretty flowers from the Birthday Blossoms set to make a clean and simple card.  The flowers remind me of forget-me-knots, which I always look forward to seeing pop up in my garden, so I have just used two Stampin' Blends for the colouring: Light Night of Navy and Dark Daffodil Delight.

In the days ahead I am looking forward to doing some therapeutic colouring.  Happy colouring,


If you would like to order Stampin' Blends or any other supplies, I would love to be your demonstrator.  Please visit my online shop: HERE

If you would like to join my team, you can choose your starter kit HERE and if you have any questions, please contact me at furrycatdesigns@gmail.com

Alternatively, you can click on one of the images below showing the supplies used:


Tuesday, 10 October 2017

Sending Hugs


Hello and welcome to my blog today.  I am delighted to be taking part in an International Highlights Blog Hop hosted by Kylie Bertucci.  I'm thrilled to be one of the top 10 winners in September's highlights and the theme is Sympathy.


Thank you so much to everyone who voted for my project to gain me this place on the hop.  You may be starting here or have come from the person before me in the hop - it doesn't matter.  You can hop all the way round to see the wonderful creations by all the other winners.  So that you don't miss a thing the whole list is at the end of this post. 


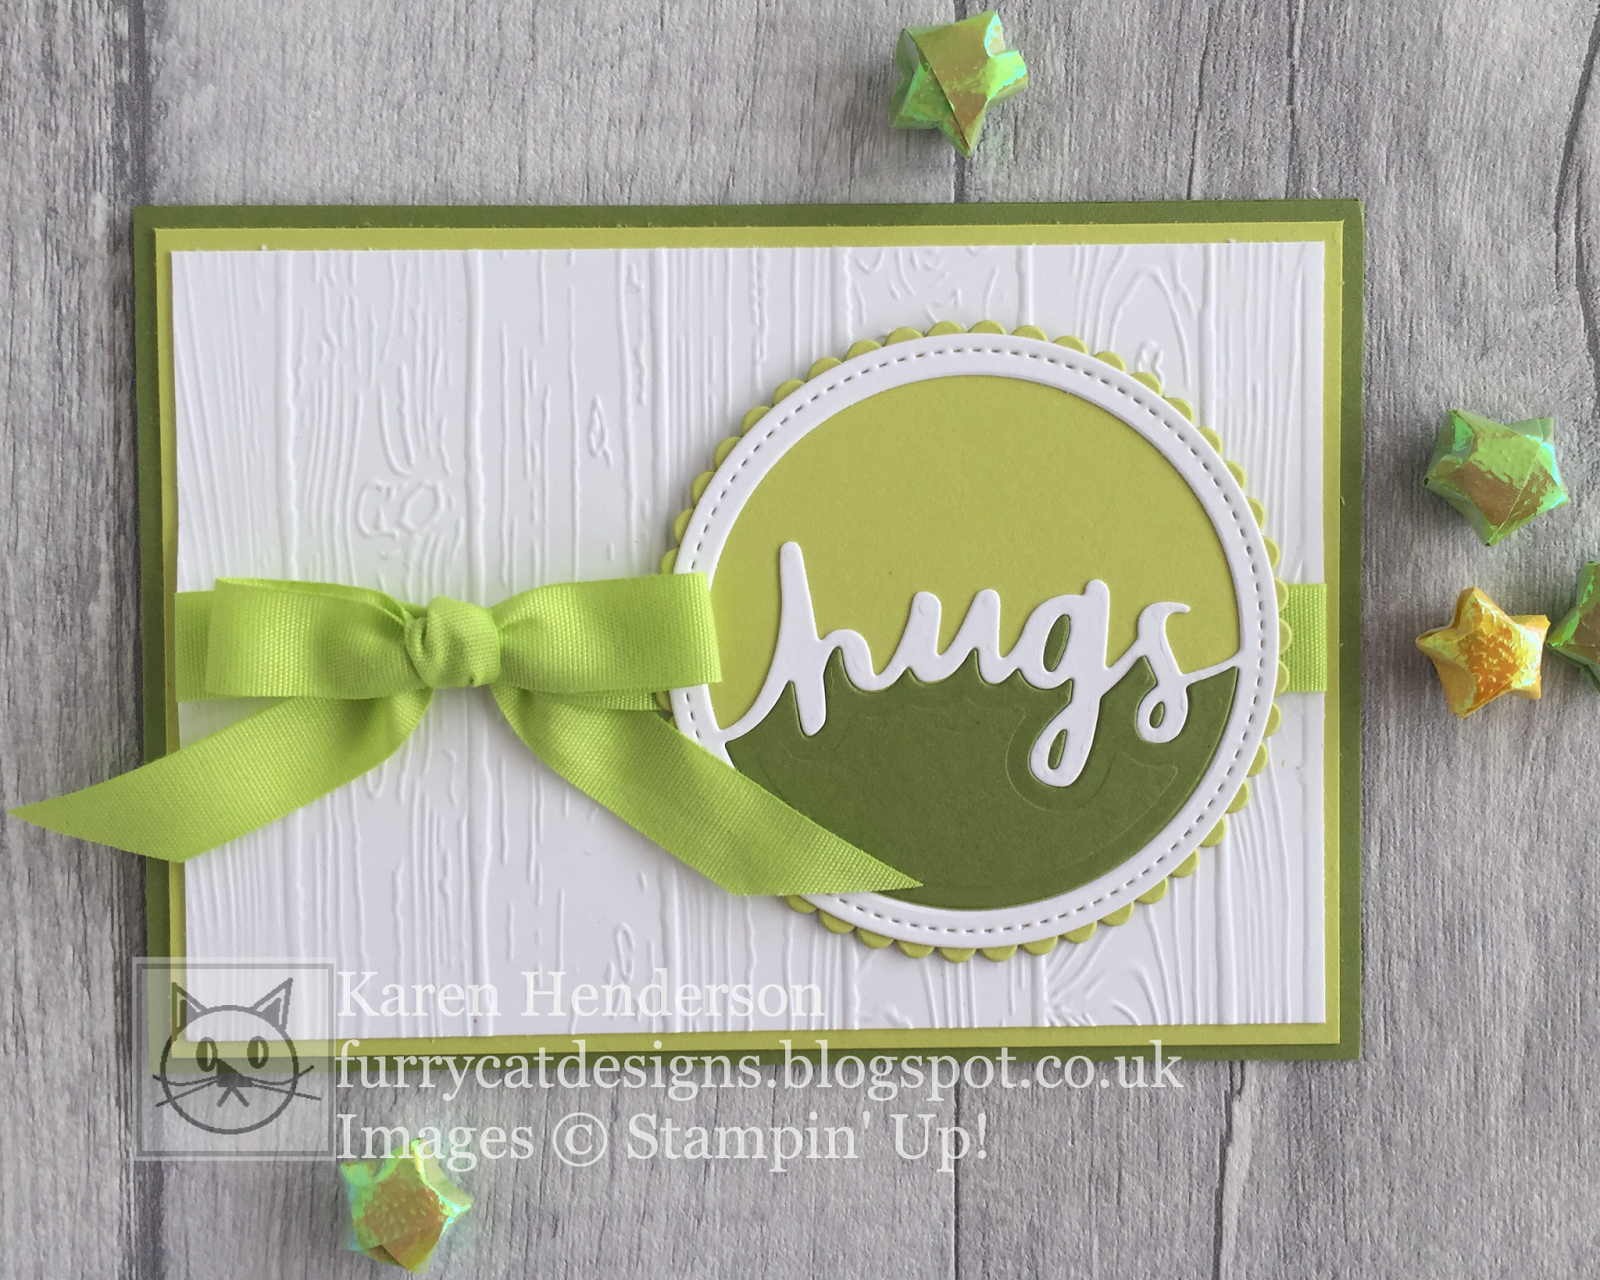
My starting point for these cards was the Washi Tape -Basics Pack 2 - which gave me my colour palette of Lemon Lime Twist with Old Olive and Whisper White and as with my earlier project, which you can see HERE, I have focussed on the word "hugs".  The white background looked a little bare with just the strips of Washi Tape, so I stamped some dots from the Pieces & Patterns set.  Amongst the sentiments in the Lovely Words thinlits there is a perfect one for a sympathy card which says "hugs".  The others are "friend" and "lovely" which are gorgeous too.


The "hugs" sentiment is surrounded by a circle which I emphasised with two additional circles from the Stitched Shapes and the Layering Circle Framelits.  To complete the card I have stamped the word "sending" above the die cut "hugs".  I like the simplicity of this card.


While I was constucting the "hugs" circles I die cut a few pieces in different colours to see which I worked best.  I put the pieces back together, a bit like a jigsaw puzzle, and made several other combinations.  I wasn't being as indecisive as usual, I was being frugal and using up my supplies and not wasting them!


Two of them have been put together and mounted onto small square tent style cards, and the last one has an elegant bow tied with the Lemon Lime Twist Ribbon.


I'm really pleased with my finished pieces!

If you would like to order any supplies, and you live in the UK, I would love to be your demonstrator.  Please visit my online shop: HERE

If you would like to join my team, you can choose your starter kit HERE, and if you have any questions, please contact me at furrycatdesigns@gmail.com
Alternatively, you can click on one of the images below showing the supplies used.


Finally - a big thank you for coming by my Blog today!  If you'd like me to keep in touch, and to drop you a line when there's a new post to read, just enter your email address in the box below and hit the Subscribe button.


Now, I know you are going to love this hop - you are currently at my blog Karen Henderson - so have a look at the hop list to see who is up next. Don't miss out on any of the blogs.

Hop List:


Happy Crafting!


Supplies used in today's project:


Friday, 6 October 2017

Birthday Blooms with Icing On The Cake


The cards I have to share with you today were inspired by Team Challenge from August!  The creative challenge was to use the colours Berry Burst, Powder Pink and Pool Party in a project.  As soon as I saw this project I knew that it was one that I needed to try!  The Cath Kidson style pattern and flowers are adorable.


I stamped the lighter, solid image first and then stamped the detailed, darker image over the top.  The stamps are photopolymer, so you can see through them to line them up.  Despite trying to stamp the roses in a random fashion there is a distinct uniformity to their placement!  


The display of cards reminds me of Goldilocks and the Three Bears...not anything to do with bears or porridge, but in a large, medium and baby sized way.   Once I'd done the biggest card I needed to do another smaller one, and then miniture ones (3"x3").  Perfect for gift tags and mini birthday wishes. 


The most surprising thing to me about these cards is how well the Powder Pink ink shows up on the Pool Party card!  The petals on the roses are really delicate with the colours really popping against the Pool Party background.  Do the smaller flowers remind you of iced party cakes and Iced Gems?

I do hope that you have enjoyed these projects.  Happy crafting,


If you would like to order any supplies, I would love to be your demonstrator.  Please visit my online shop: HERE

If you would like to join my team, you can choose your starter kit HERE and if you have any questions, please contact me at furrycatdesigns@gmail.com

Alternatively, you can click on one of the images below showing the supplies used: