


.jpeg)

Hello and welcome to my blog. Today, I am participating in the New at SU! blog hop. We are a group of Stampin' Up!® demonstrators from around the world who are full of creative papercrafting ideas to share with you to get you crafting. This time, we are showcasing projects featuring Flip Flaps!
I have made a mini book from envelopes to show off a lot of photos about my cat! He is 2 years old today!
.jpeg)
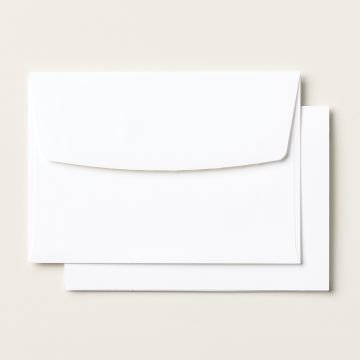
The base of the book is made from Notecard envelopes, which are a good size to display 3" x 4" photos, but any size envelope could be used and the construction would be the same. To decorate the mini book I used Designer Series Paper from the Paper Medley pack (which will be available in May). So far, I have added some titles but not any detailed journalling although I have left some spaces, so there are lots of opportunities to go back and annotate the pictures.
.jpeg)
It is easy to join the envelopes together. Start the process by folding the flaps of the envlopes to the front. The flap of the flap first page will attach to the cover. The flap of the second envelope slots into the first one I used Tear & Tape to adhere them together. The first two pages of the book have been created. Add as many pages as you would like ensuring that they line up neatly with each other before removing the backing of the Tear & Tape. I secured the back cover to the last envelope and then added a spine.
.jpeg)
I incorporated six of the 3" x 4" Flip Flaps, three of the square 3" ones, plus flaps made from DSP together with a couple of sections of card folded in a concertina fashion to provide as many spaces as I could for photos.
.jpeg)
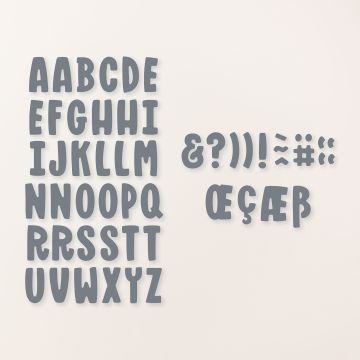
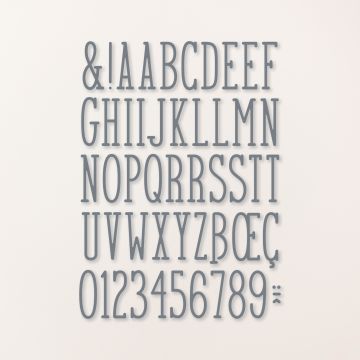
Each of the little spreads has a theme and I've added a titles to reflect them. The majority of the letters are cut using the Mini Alphabet dies, and for the date I used the retiring Alphabet A La Mode dies. Applying adhesive sheet on to the notecards prior to die cutting the letters enabled be to make stickers to create the titles with. After removing the backing from the letters I placed them temporarily on my silicone mat. Then, using tweezers I positioned them on the gently on the layouts enabling me to adjust the alignment before finally securing them.
In total, I used nine notecard envelopes together with a six 3" x 4" Flip Flaps and three of the 3" square ones. This was a project that evolved as I made it and I'm so pleased with how it turned out.
.jpeg)
The video shows you how to add the pages together and gives a flip through of the pages showing off how wonderful Flip Flaps are...you can add so many photos!
Do you need any of the products used on today's cards? If you live in the UK please take a look in my online Stampin' Up! shop. You can follow the link or click on the pictures below of the products I have used today.
Stay safe and as always, happy crafting,

If you would like to order any supplies, and you live in the UK, I would love to be your demonstrator. To place an order please visit my online shop HERE. The products I have used on today's project are linked from the images shown below.
Stampin' Rewards Program

When shopping, remember to opt in to Stampin' Rewards on orders over £20.
Click on the images of the products I have used today to purchase them in my online shop:


Cats are curious, for certain! The way you added peek-a-boo elements with the Flip-Flaps makes me curious, too...I'd love to sit and look through all the antics of your frisky feline!
ReplyDeleteOur cat has character for sure, and the flip flap certainly allowed me to add loys of photos! This album was so much fun to make.
DeleteOh Karen I have been looking closely at your cute Mini Album. I absolutely love everything about it! Great use of the black and white and a bit of blue, and the gorgeous little flaps. Your kitty is the cutest!
ReplyDeleteOscar certainly is a cutie and I tried my best to capture the various aspects of his charater in the book - thank goodness for flip flaps!
DeleteWhat a fun album to show off your cutie! I like how you used the envelopes for the pages to keep the size uniform. The extra pull out of the Flip Flaps is perfect for when you just can't choose which photo so you can include them all! TFS!
ReplyDeleteFlip flaps were my best friend with this album. I wanted to add as many pictures as I could, and now we have a chunky little album to look back on. Bonus is that it stands up by itself so it's easy to display!
Delete