


.jpeg)

Hello and welcome to my blog. Today, I am participating in the New at SU! blog hop. We are a group of Stampin' Up!® demonstrators from around the world who are full of creative papercrafting ideas to share with you to get you crafting. This month we are showcasing Simple Christmas projects.
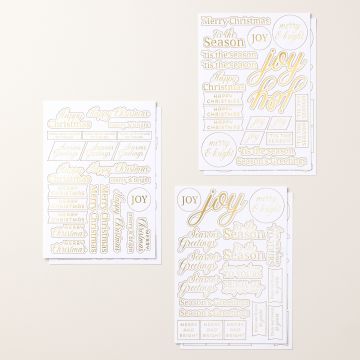
I am using the Christmas Tags & More Specialty Designer Series Paper together with the Greetings for You Ephemera Pack. The DSP has four different double sided designs (and you get 8 sheets of each) plus two sheets of pre-cut designs (there are 2 of each). For my cards today I selected the patterned sheet with the baubles.
I love making cards where the DSP does all the hard work for you. My first example is simplicity itself. The DSP is trimmed, added to a matting layer of Real Red and then to a Crumb Cake card base. All I did to complete the card was to add one of the luxurious sentiments from the Ephemera Pack.
.jpeg)
Of course you could add ribbon or twine and a few sparkles to enhance it, but I decided not to. The simple brief is definitely fulfilled and not only is it speedy to make it is also completely flat so it will also be easy to post.
My second variation includes a couple of the pre-cut bauble designs, popped up on dimensionals to create some height variation, and some Baker's Twine bows.
.jpeg)
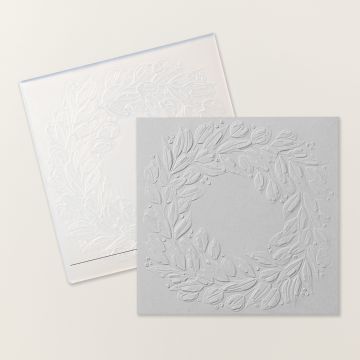
The next version makes use of the Wreath embossing folder to add texture behind the baubles. The DSP is cut tighter around the baubles to create a smaller layer, around which Baker's Twine is wrapped before popping it up with dimensionals.
.jpeg)
My final version is my favourite. It is a sketch that I use often. A slice is cut from the front flap of the card base and then both the front flap and the exposed panel of the card are decorated. In this way, you are able to showcase two patterns or textures. It's a stretch to call it a fancy fold but the non standard card front certainly adds a fun element. The piece of DSP I am using particularly lends itself to this design!
.jpeg)
There are more steps to create this card, but I would still describe it as simple. I am quite fond of a production line to make multiples of cards and this one would fall into that category! The trickiest thing would be tying the Baker's Twine bow.
.jpeg)
I am delighted, and surprised, that I have made a batch of cards with no stamping at all - they were quick, easy and fun to make. I hope that you have been inspired by my project today. Please continue along the hop to the others who will provide you with even more project ideas - you are currently with me, Furry Cat Designs by Karen Henderson - but before you hop on to the next post, please take a moment to leave a comment. We love reading your comments!
Do you need any of the products used on today's cards? If you live in the UK please take a look in my online Stampin' Up! shop. You can follow the link or click on the pictures below of the products I have used today.
Stay safe and as always, happy crafting,

If you would like to order any supplies, and you live in the UK, I would love to be your demonstrator. To place an order please visit my online shop HERE. The products I have used on today's project are linked from the images shown below.
All Star Video Class Bundles

Stampin' Rewards Program

When shopping, remember to opt in to Stampin' Rewards on orders over £20.
Click on the images of the products I have used today to purchase them in my online shop:


.jpeg)
.jpeg)

.jpeg)
.jpeg)


.jpeg)


.jpeg)
.jpeg)


